Man, I feel like I’m coming off kinda conceited just typing that post title. “How to get good runDisney photos.” Like I would know, right? Oddly enough, though, I’ve had more than one person ask me how my running photos always look so good, which, first of all: remember the #1 rule of Instagram. YOU ARE ONLY SEEING WHAT THEY’RE SHOWING YOU. Okay?
So yeah, my publicly posted runDisney photos generally don’t suck because if they did, I wouldn’t post them. That being said, I have been reasonably pleased with my runDisney race photos of late, thanks to equal parts LUCK (don’t forget the luck bit; very important) and some strategic decisions, the latter which I will share with you now. It feels like a good way to kick off a new year and a new runDisney season, no?
Before I do, though, let’s make the obligatory concession and acknowledge that how you look in your race photos has no bearing on your worth, you are beautiful, it’s only angles, we should all transcend our vanity, not all things work for all people, I am not a model and have no business giving out advice, etc., etc. If race photos are not a concern for you, that’s awesome! You can click off this post. Come back in a week or two for my next trip report.
In the meantime, for those of you who find it relevant, here are some things I think about when approaching runDisney race photos!
CONSIDER YOUR RACE OUTFIT
This one starts before you head out the door for the race bus: what are you wearing? Naturally for an endurance activity you should be taking function into account before form, but if you’re invested in race photos you might want to think about form at least a little. If you don’t feel cute standing in your resort bathroom, you’re unlikely to suddenly start feeling cute at the race start.
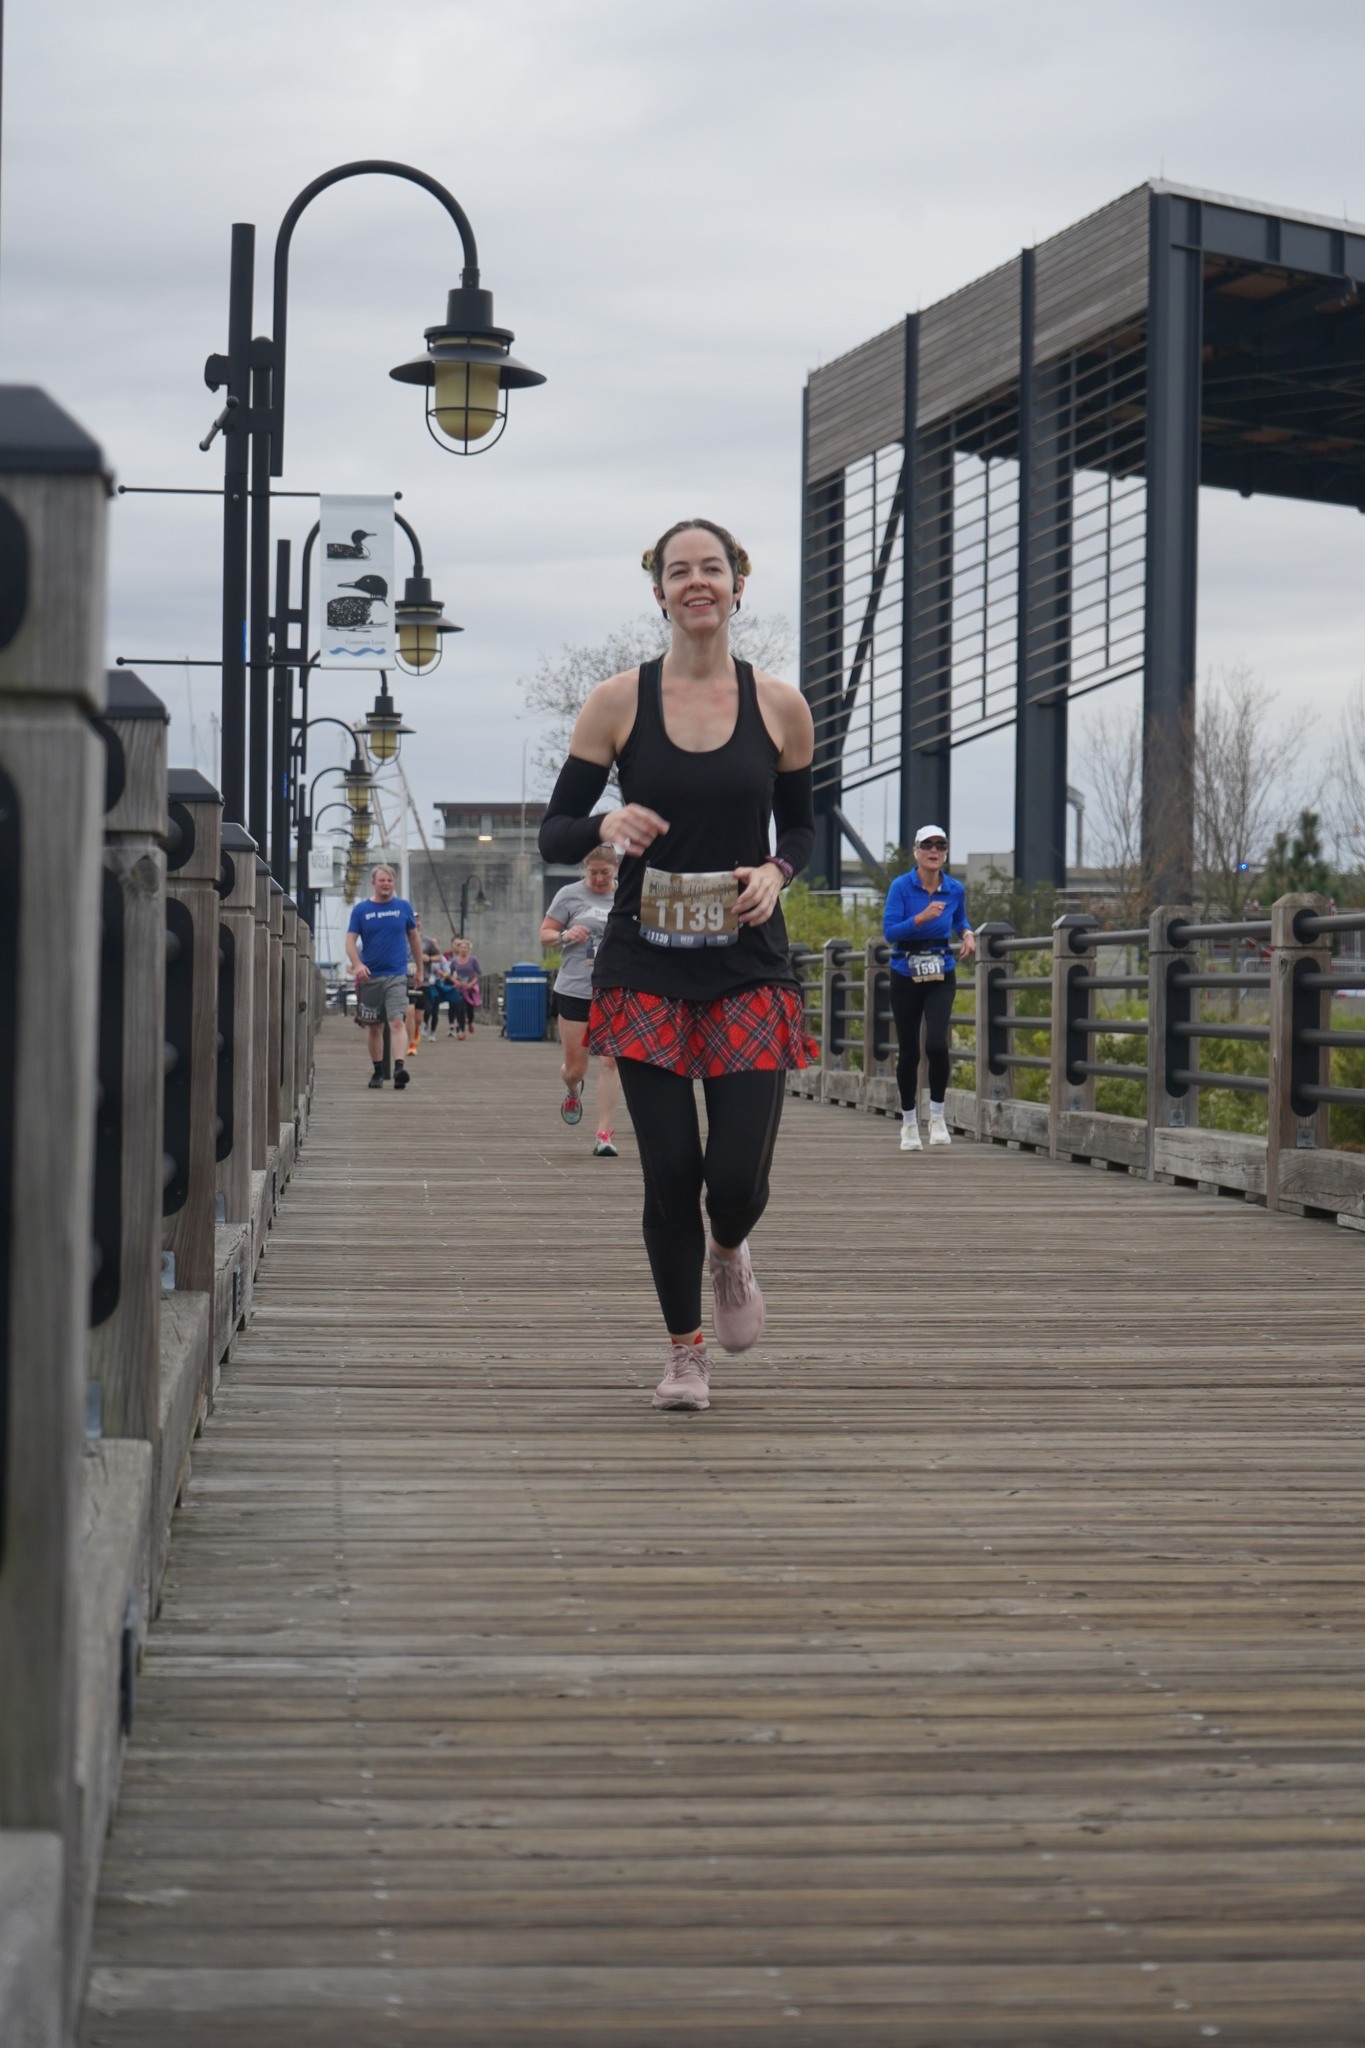
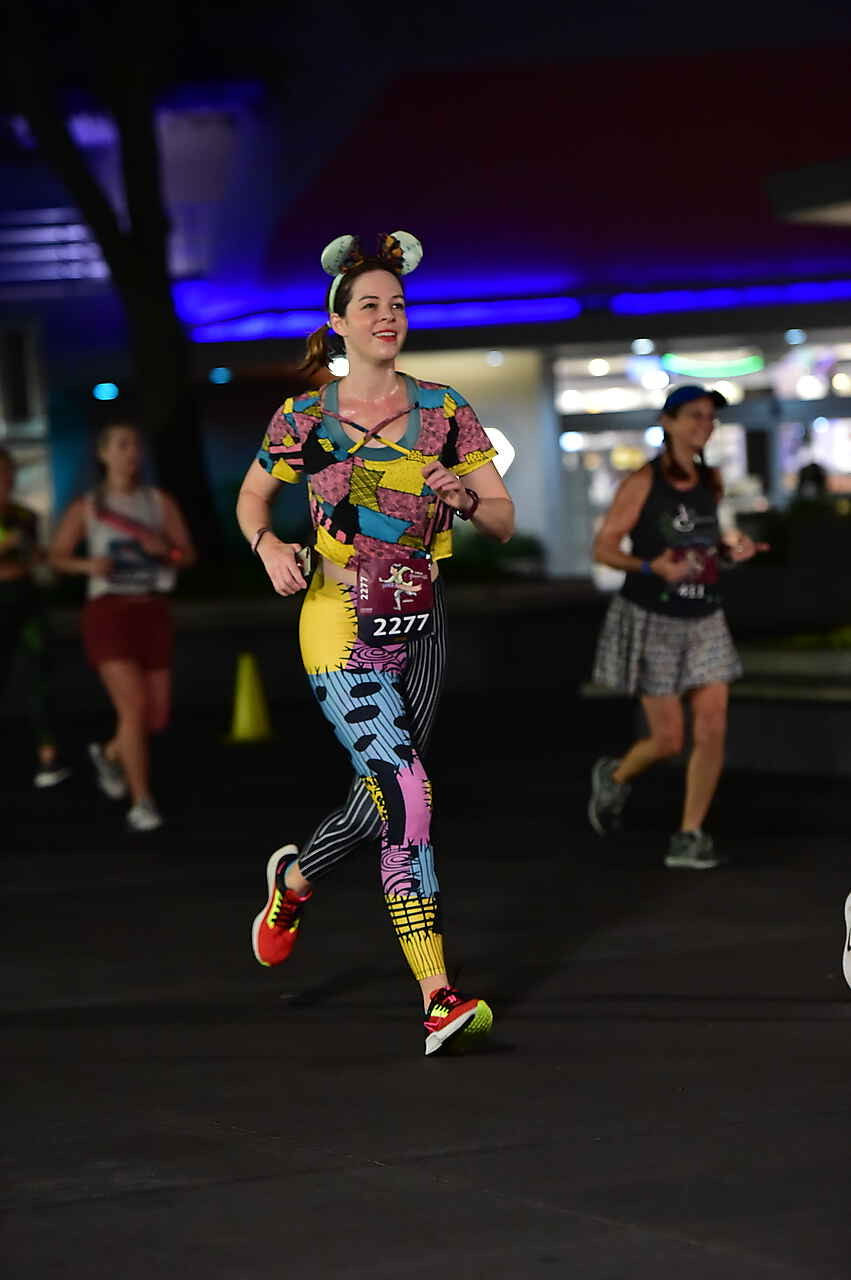
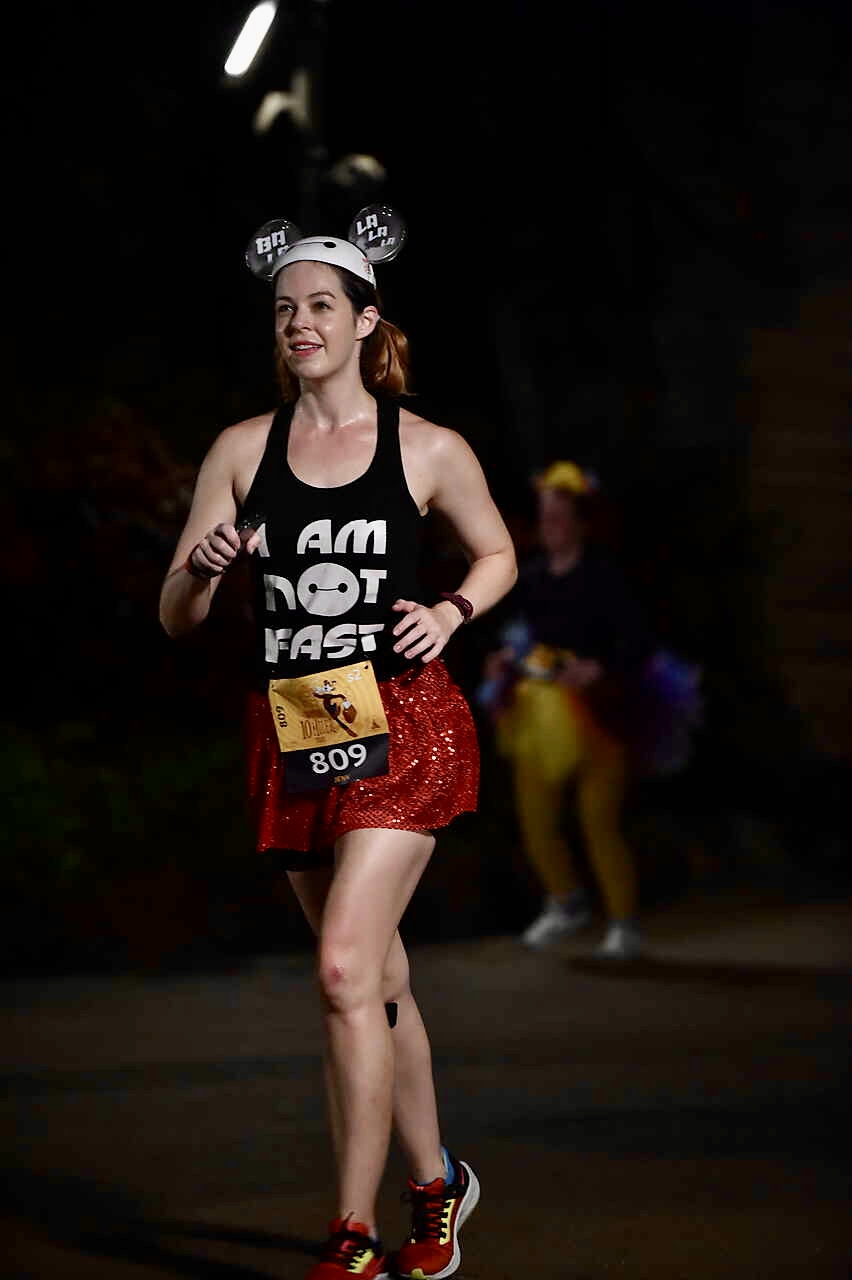
In particular consider the proportions of your clothing. Does your shirt make your torso look weirdly long? Does the skirt you threw on underneath make your legs look short? Fix it now because it’s going to be doubly noticeable in photos. See below for an example; my skirt is WAY more flattering with my shirt tucked into the band as opposed to falling over top.
EMBRACE COSMETICS
A corollary to your outfit: you might want to consider wearing a bit of makeup. It doesn’t have to be a full face! I myself don’t wear a full face; mad respect for those of you who do but I’ve met me and I know I’d be a sweaty smear within the first mile. But a little bit of waterproof mascara and some rosy lipstick isn’t too intensive, and can help define your features in a photo.
HAVE A DEFAULT POSE
If you only use one suggestion in this post, make it this one: have a default pose. If you can’t think of anything good in the moment, having a default pose to fall back on keeps you from looking lost and/or confused in your final photo. It may feel cringe, but practice your pose and expression in a mirror until you can effortlessly fall into something you’re pleased with.
Or…
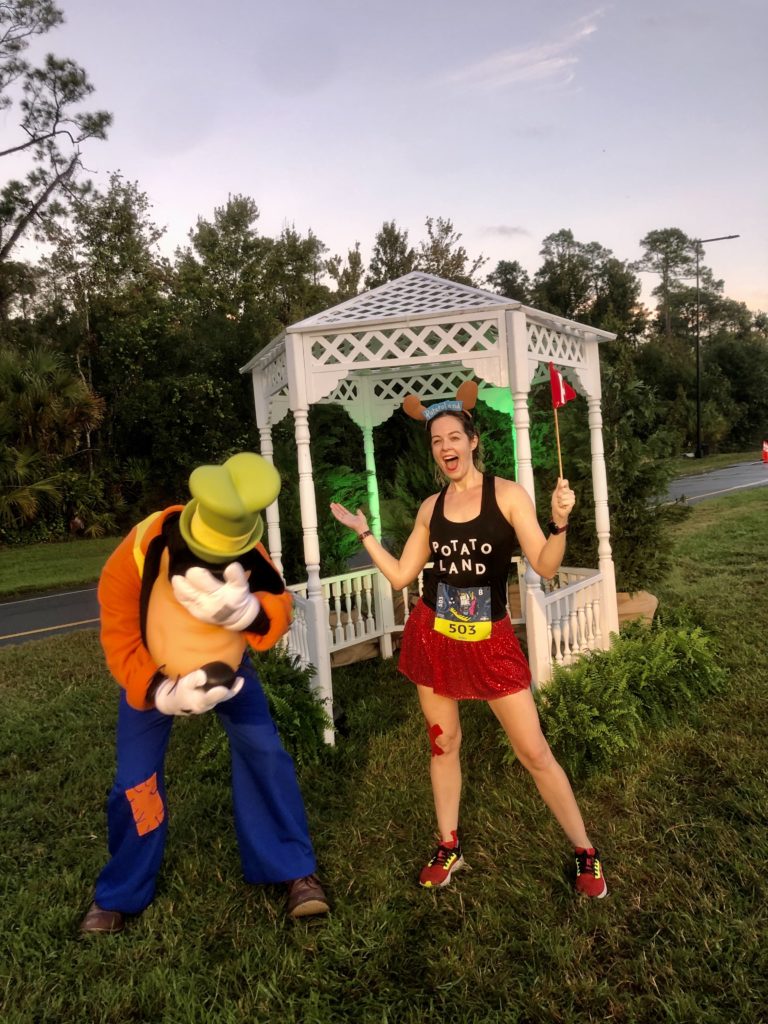
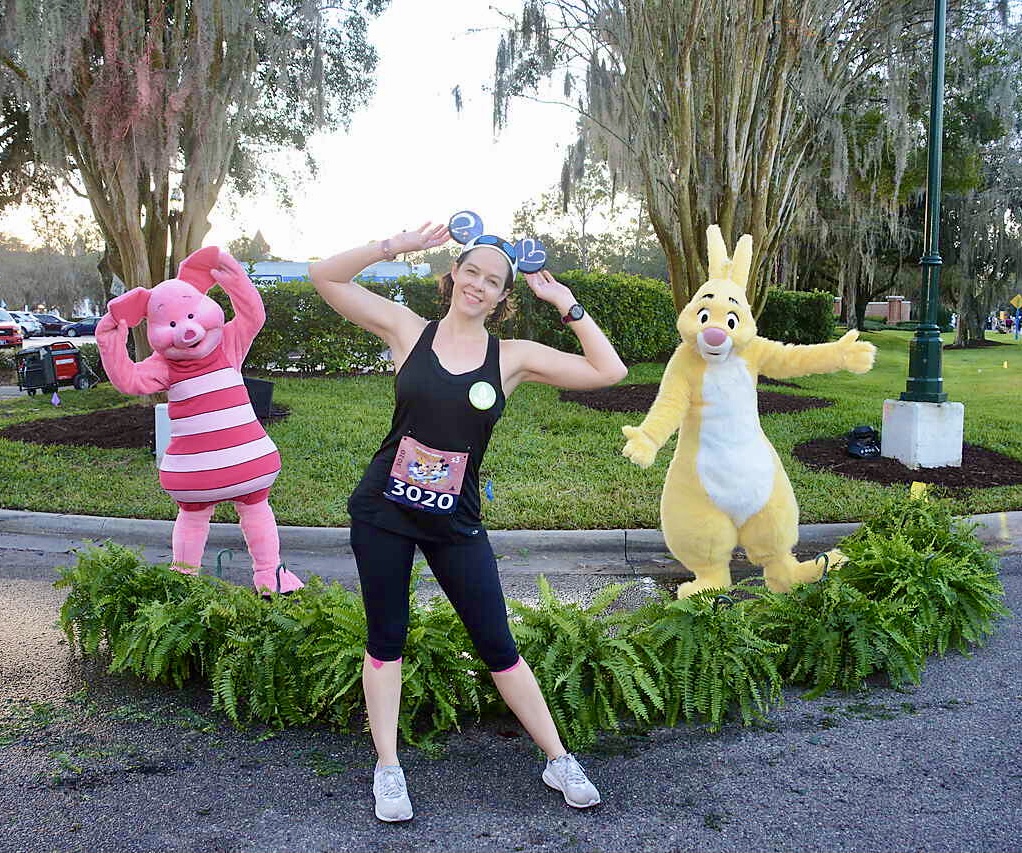
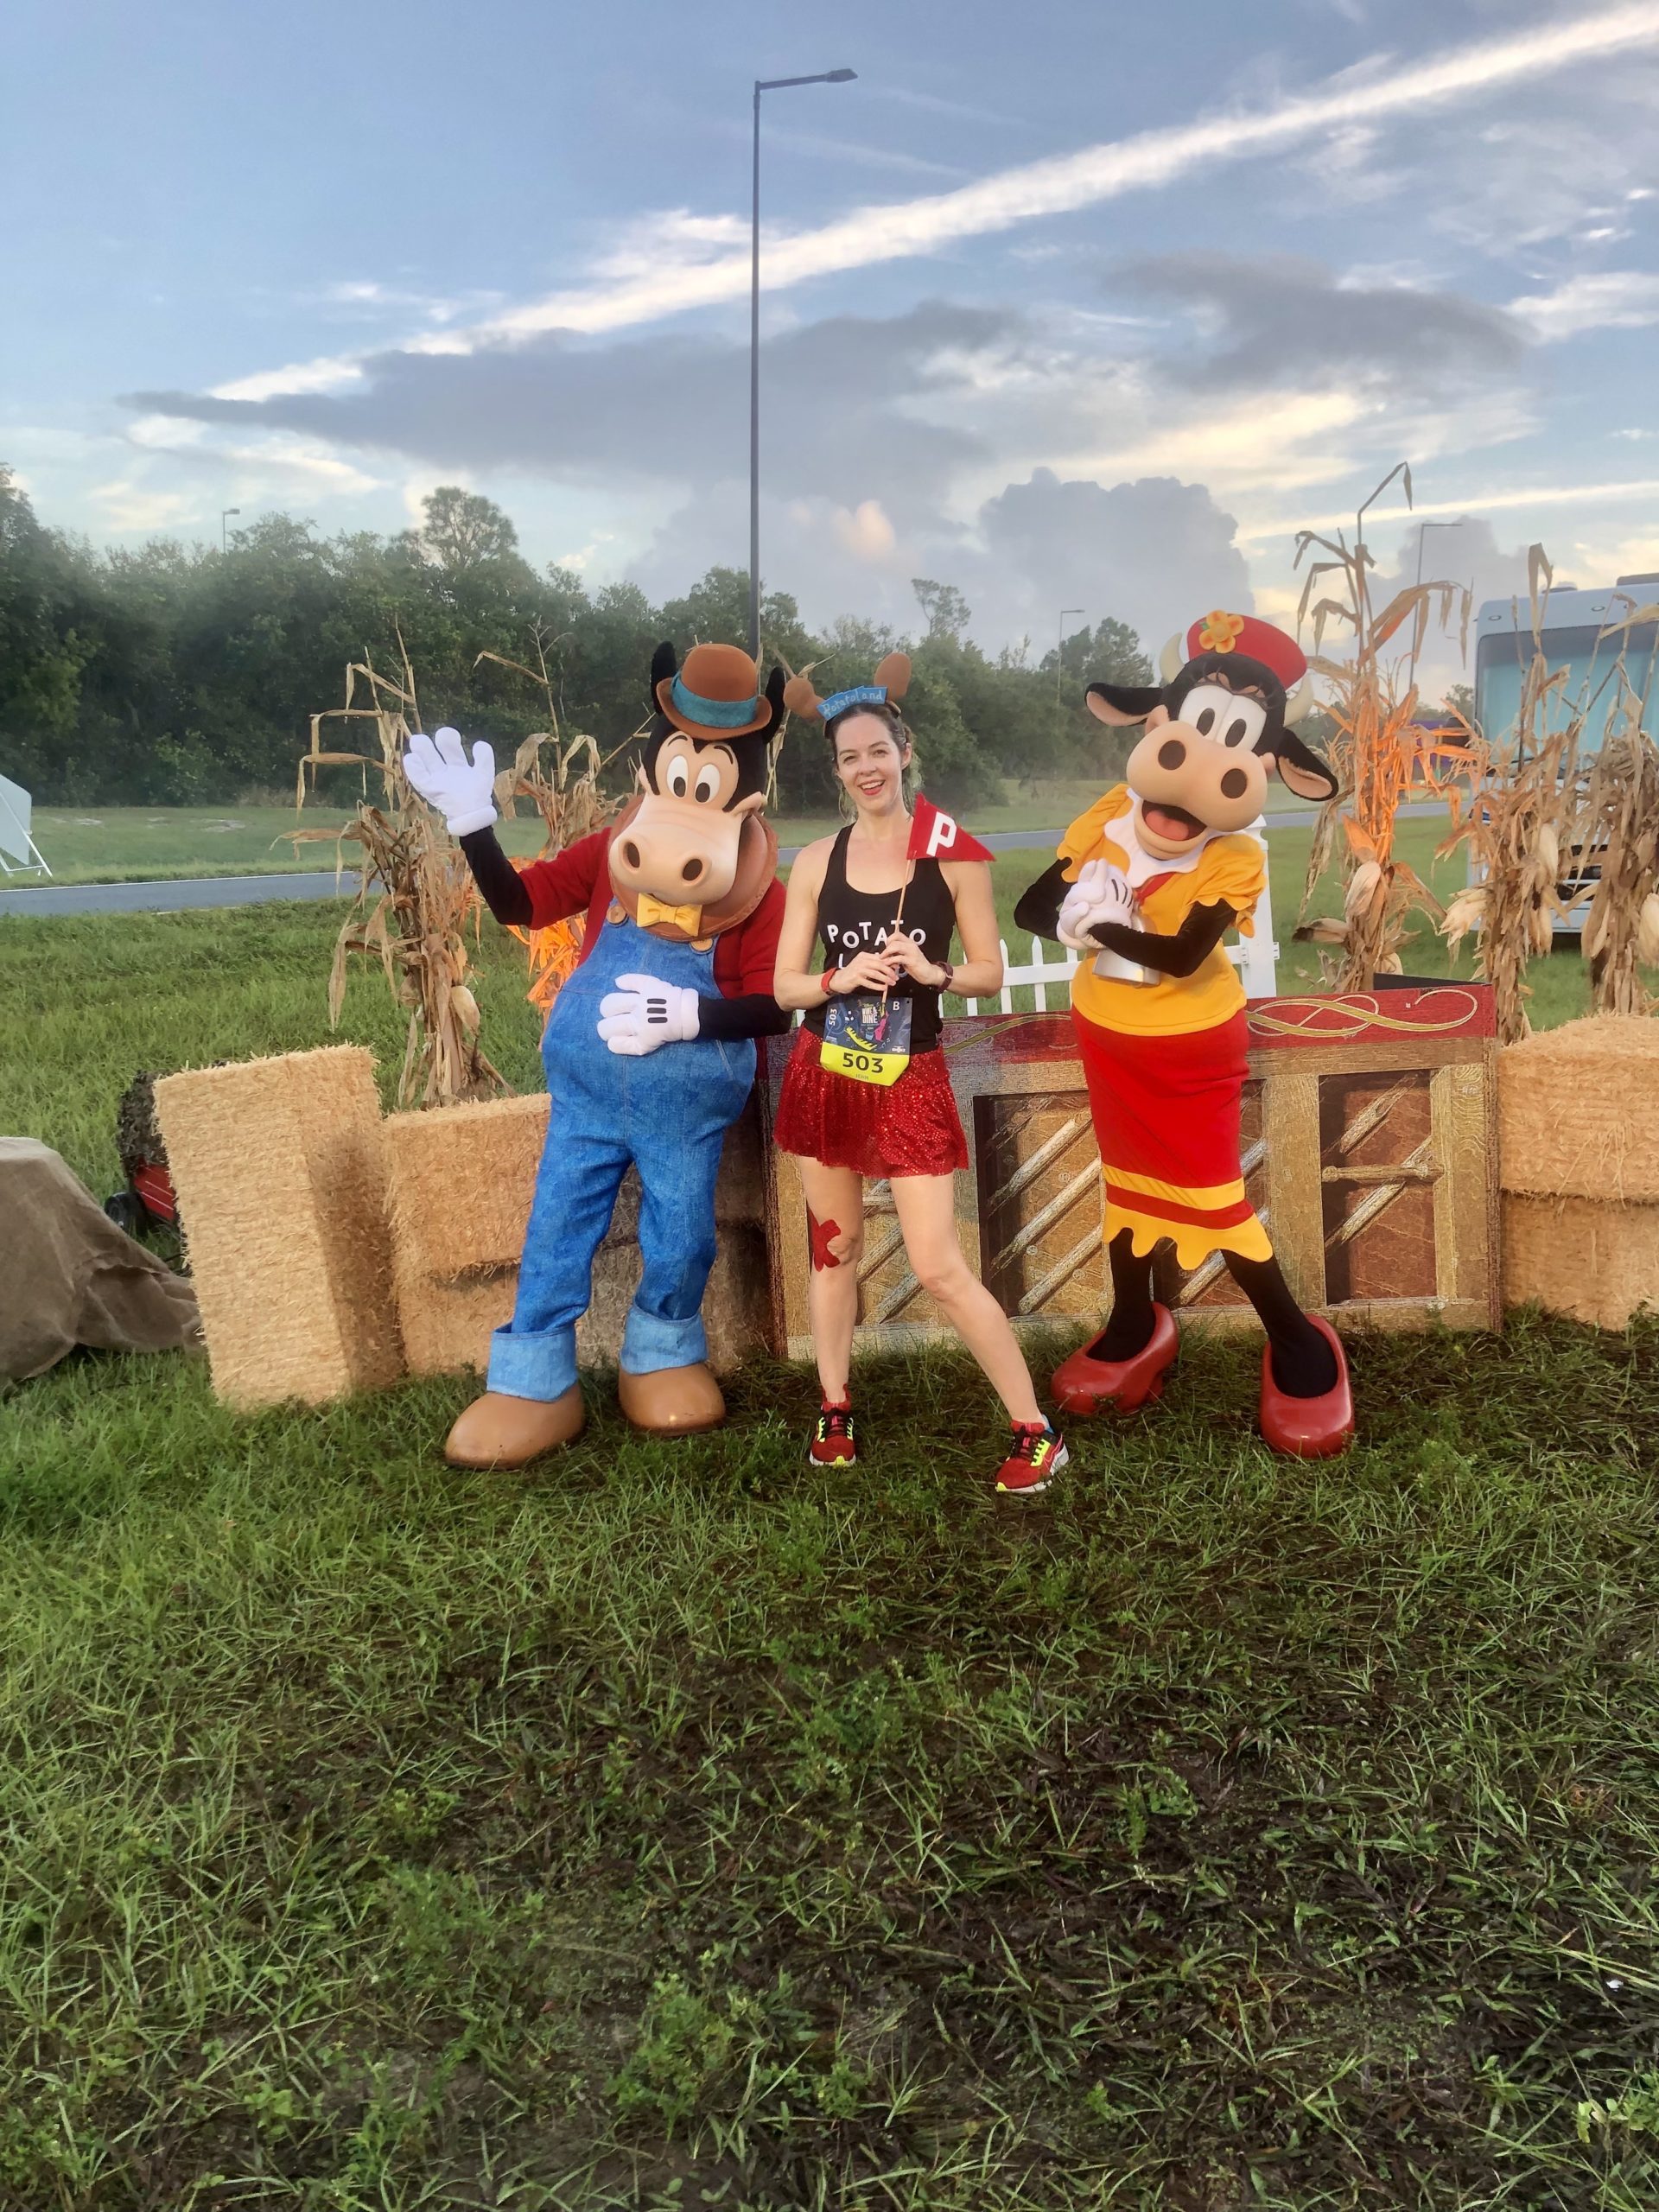
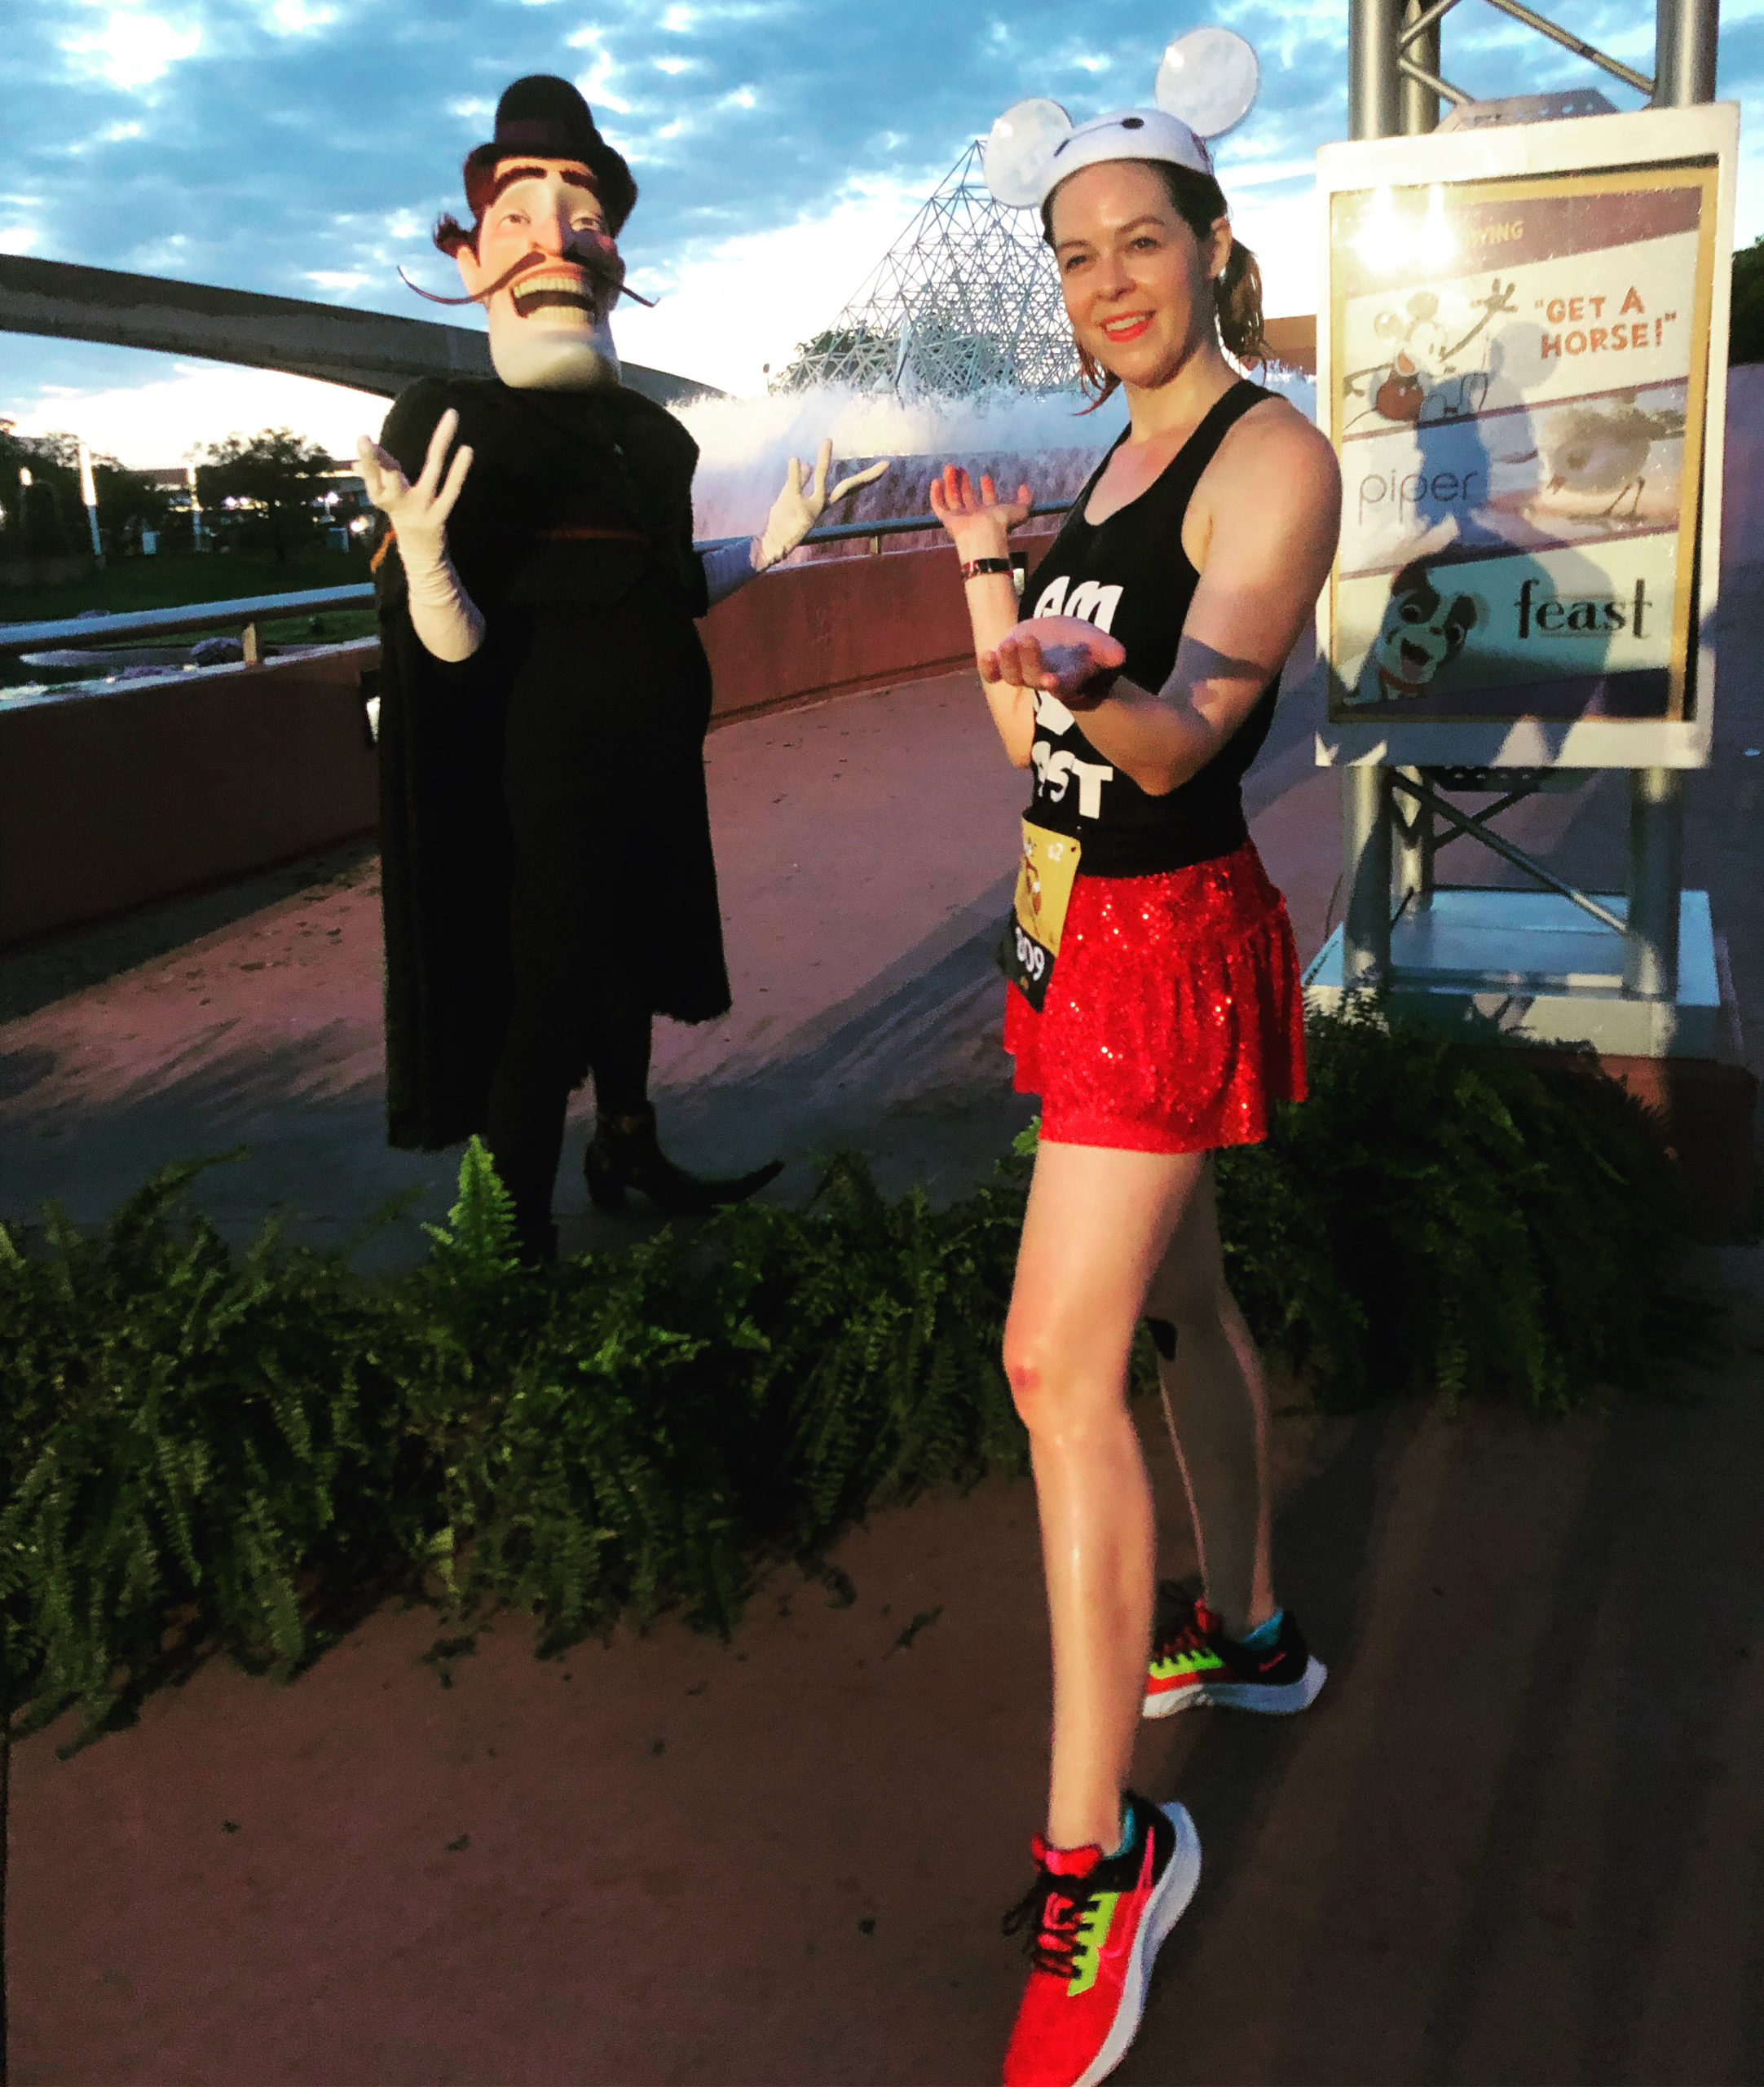
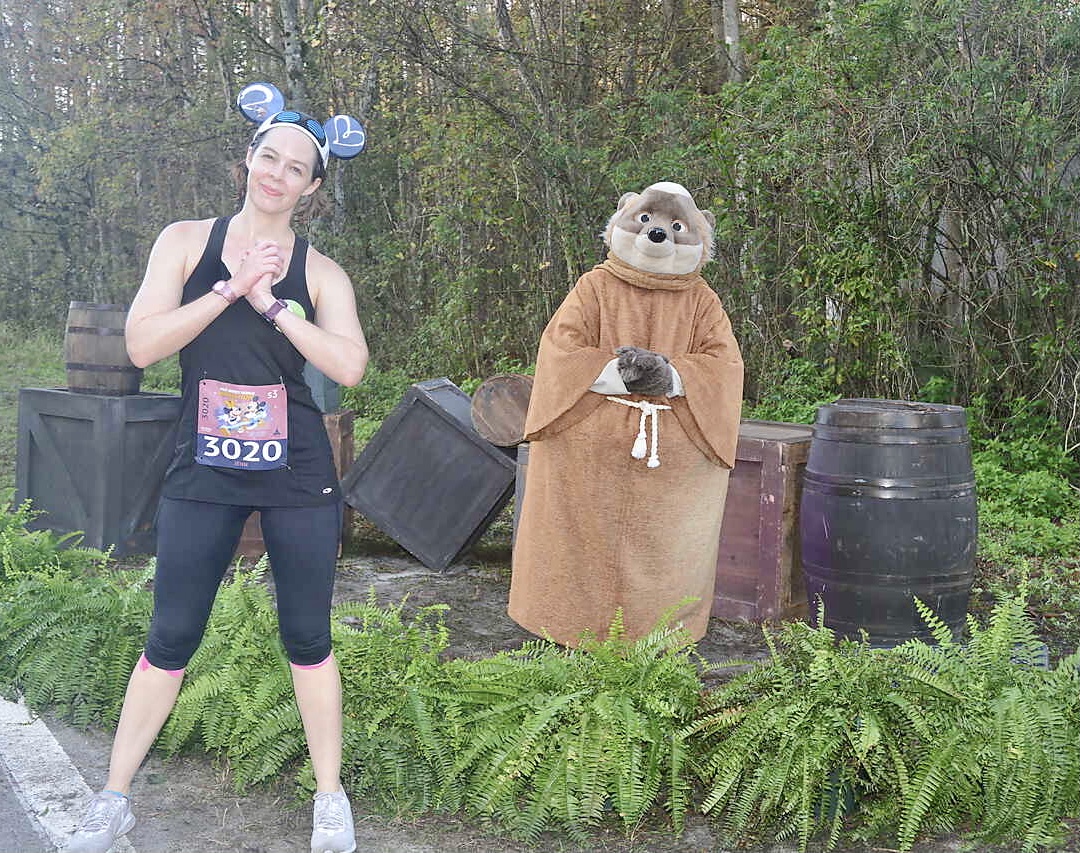
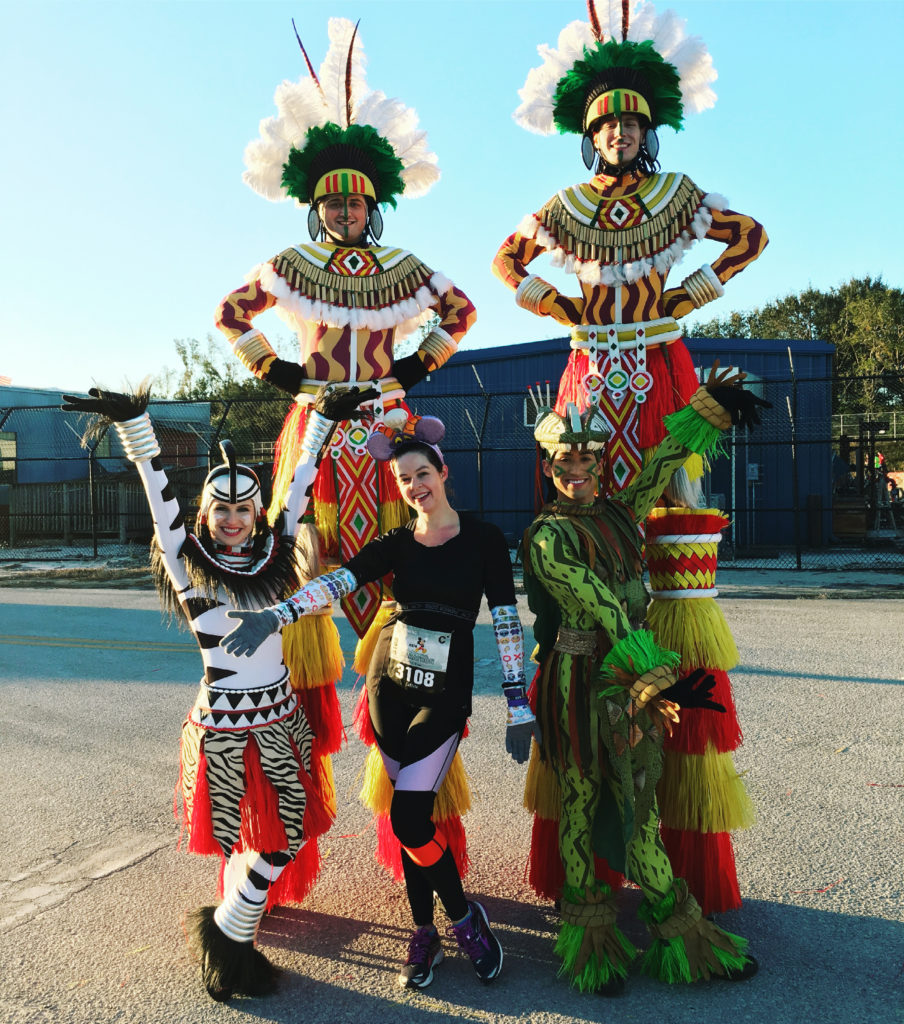
MATCH THE CHARACTER’S POSE
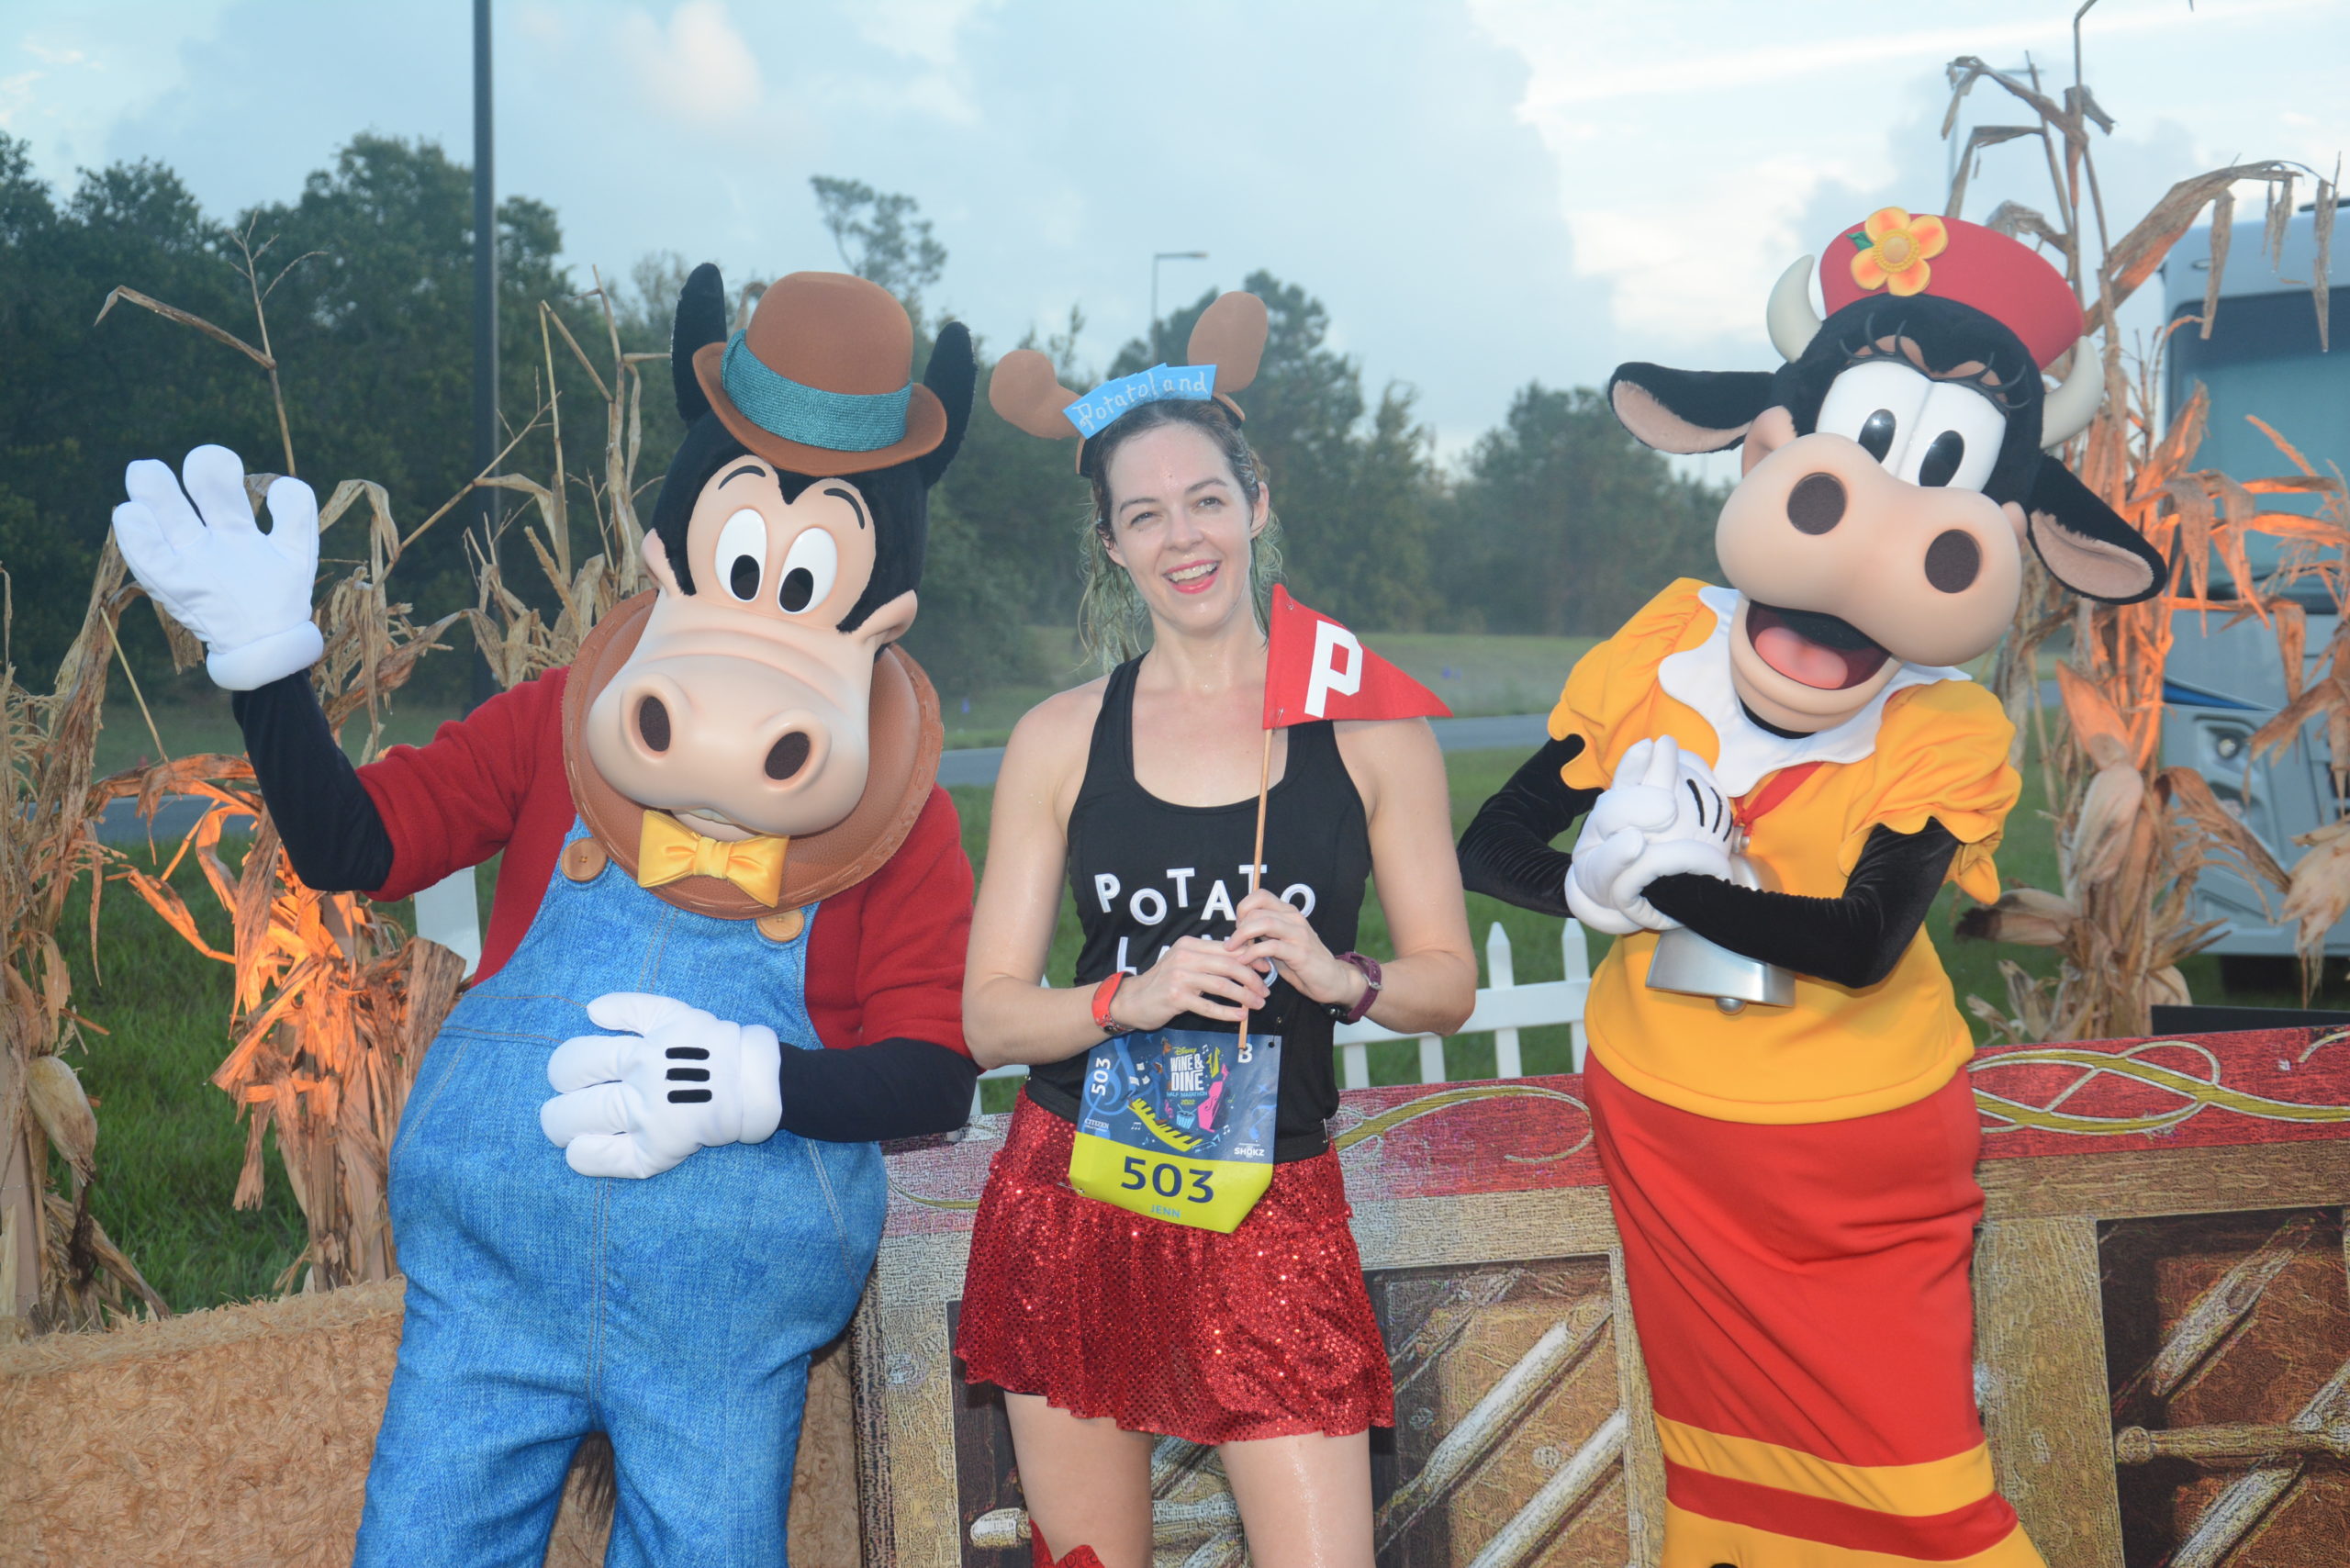
Another easy one is to try and replicate what the character is doing. This only works when there’s a line for the photo stop so you can see what others are getting, but keep an eye out. Even if they have multiple poses, if they see you assume a position first they’ll often match you.

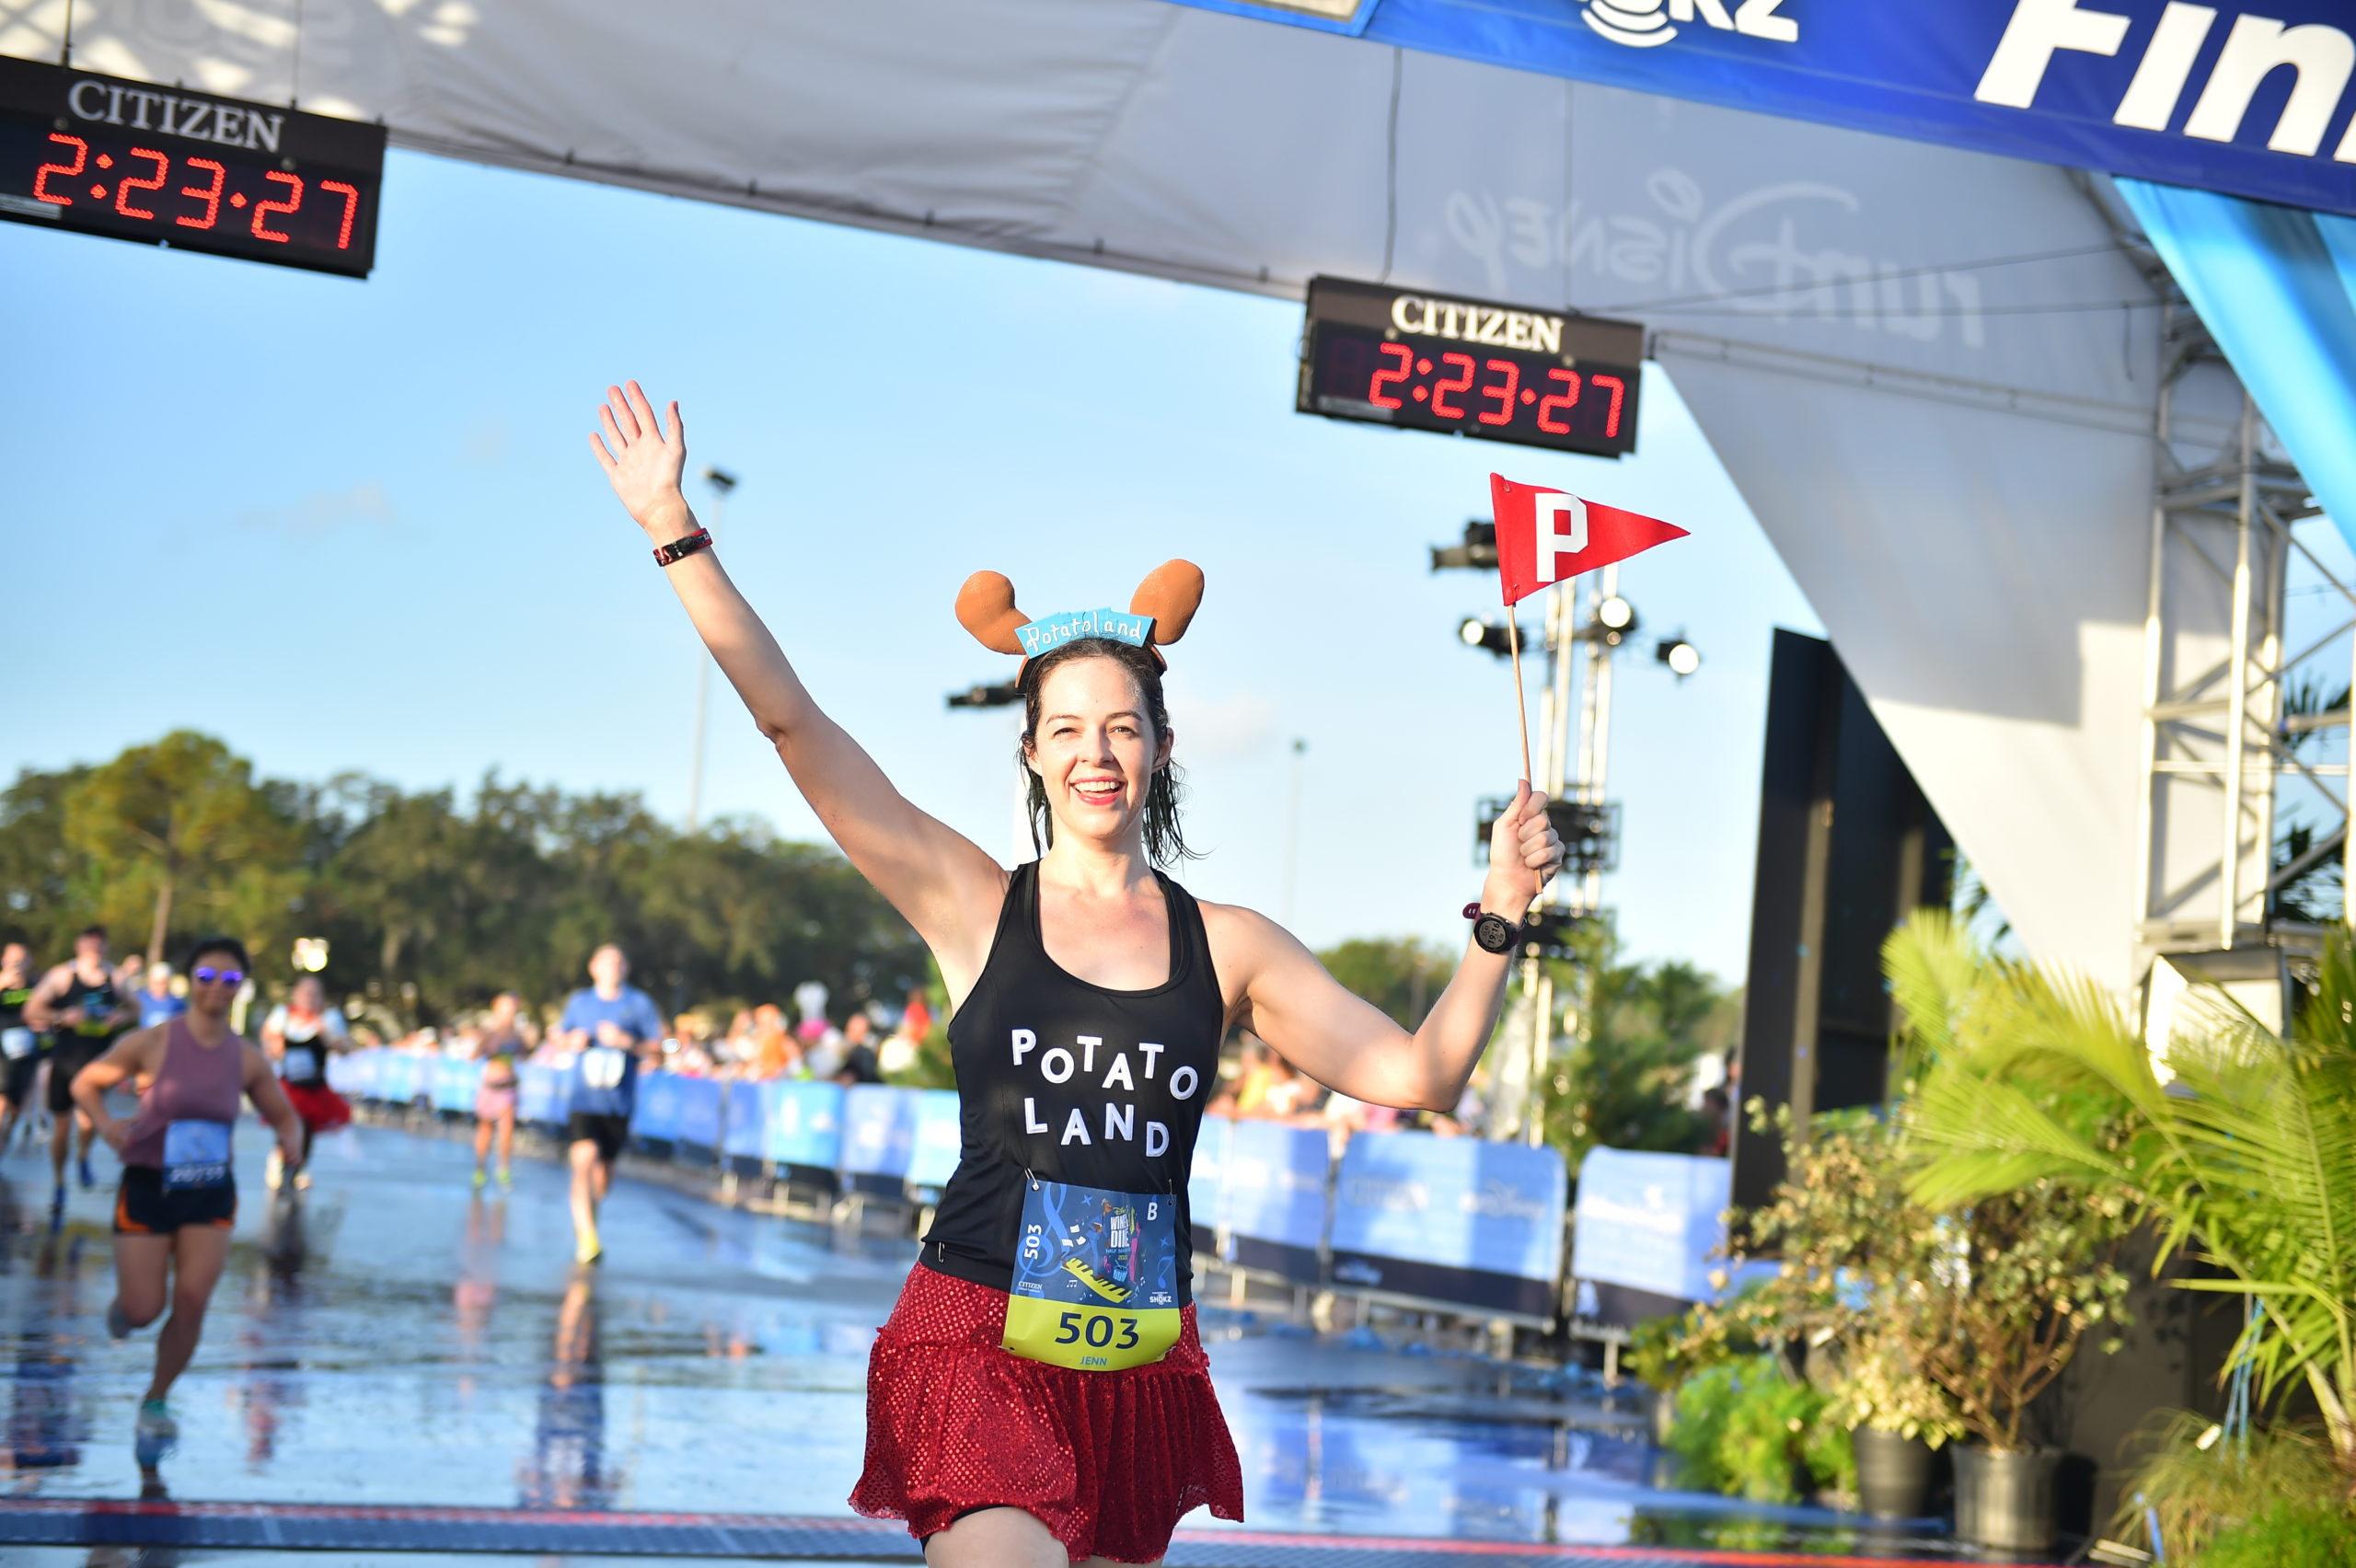
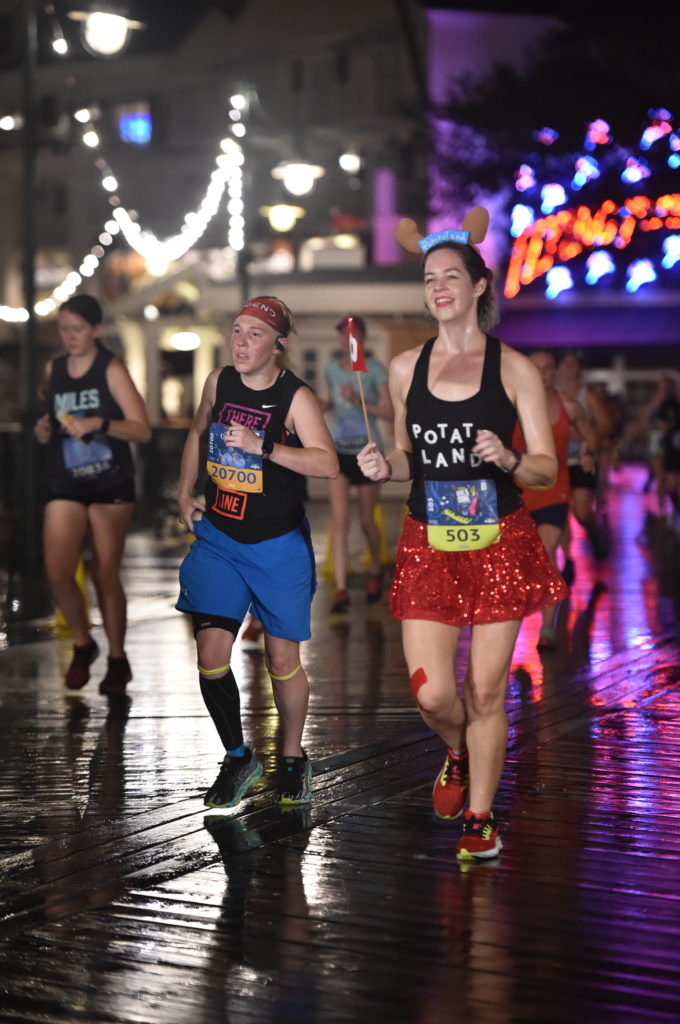
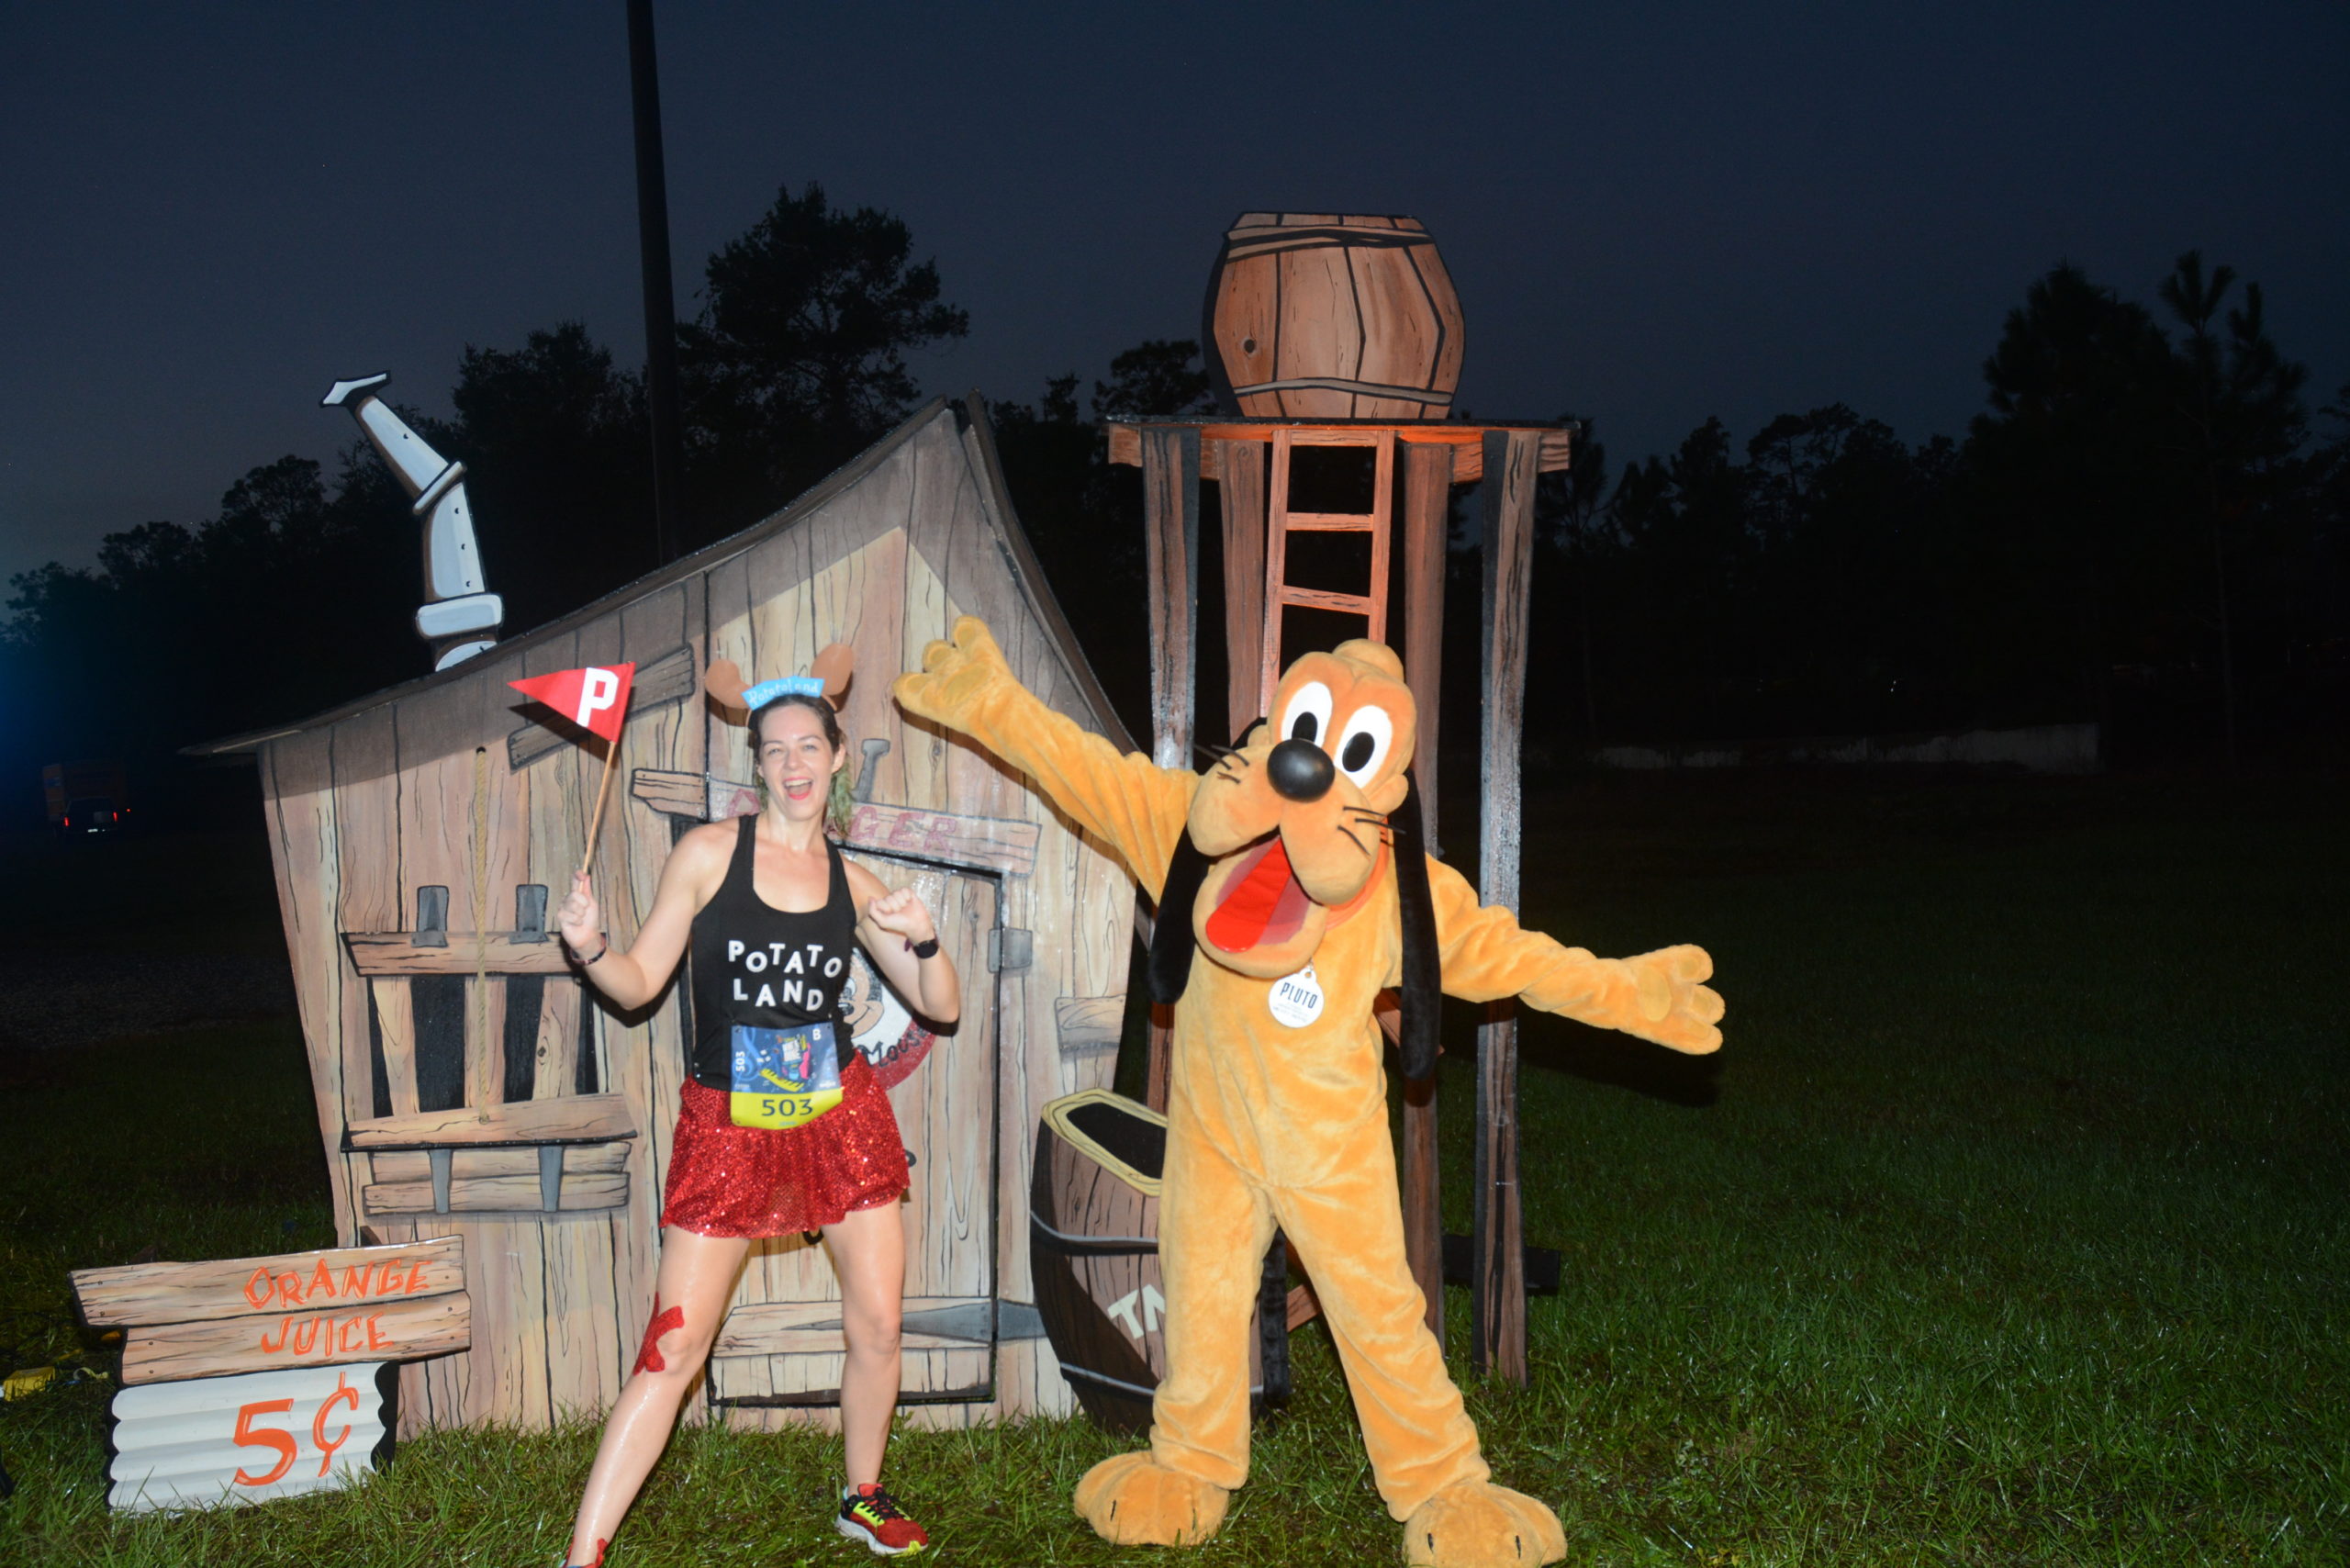
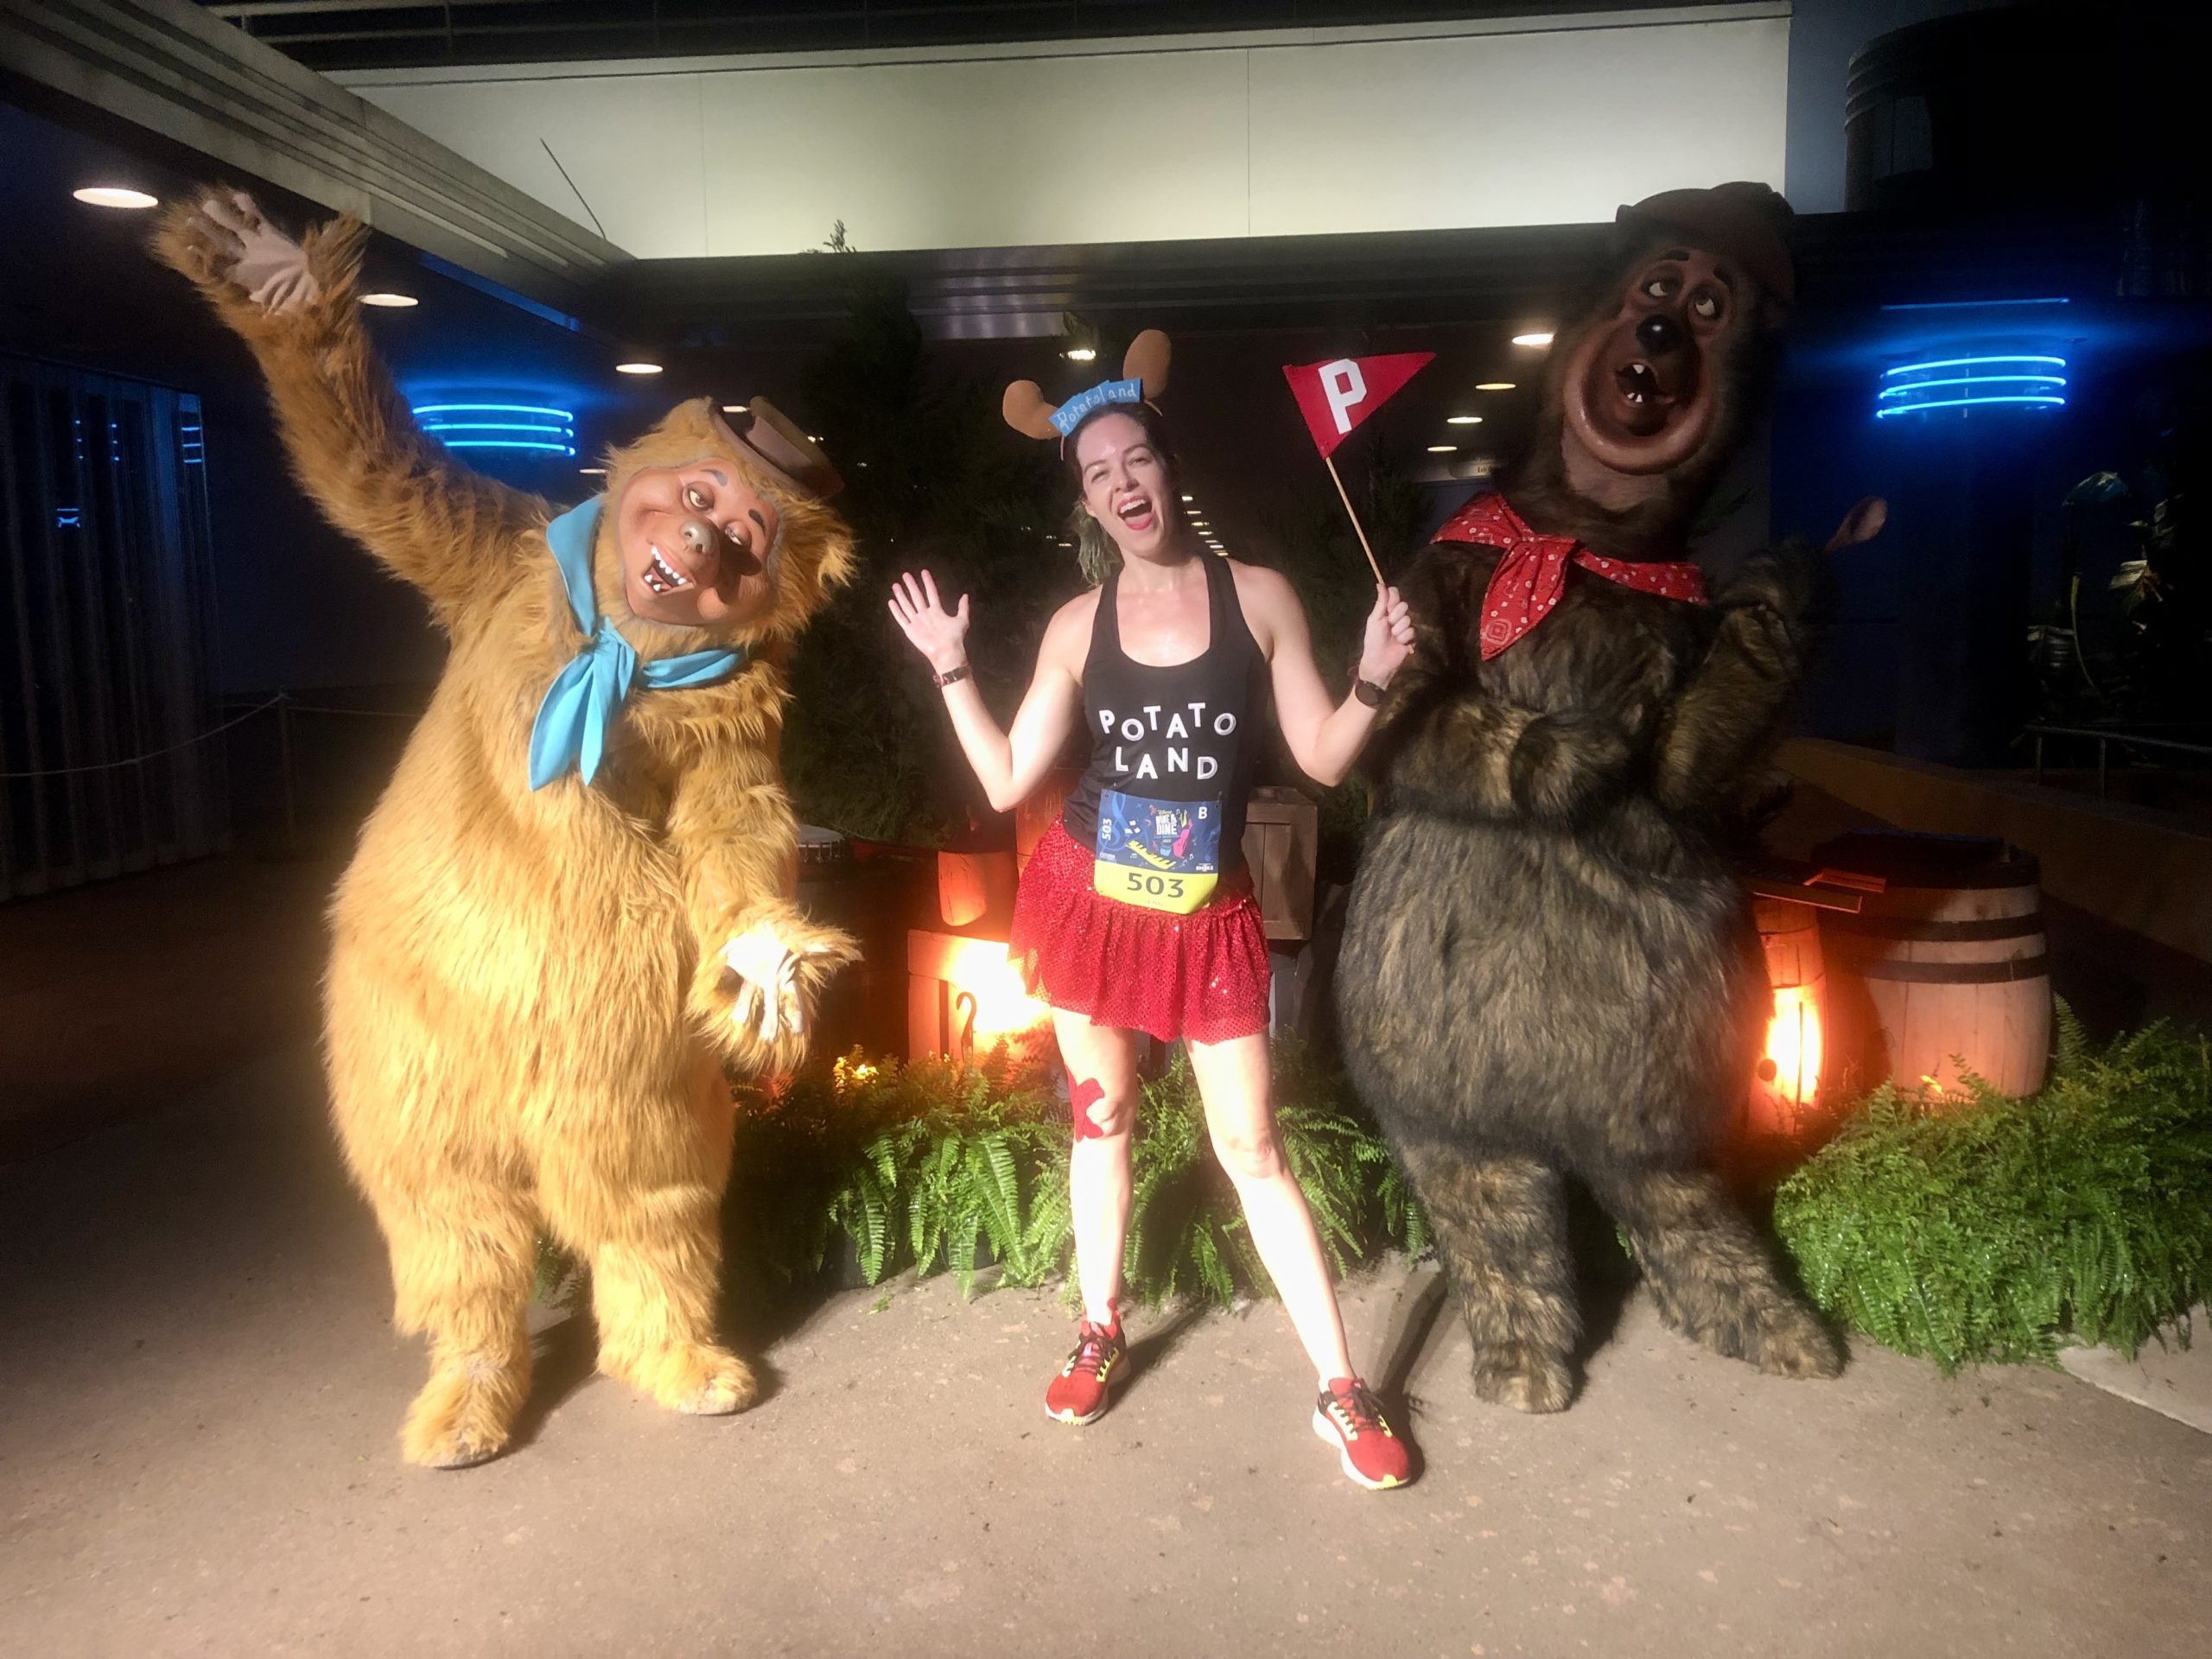
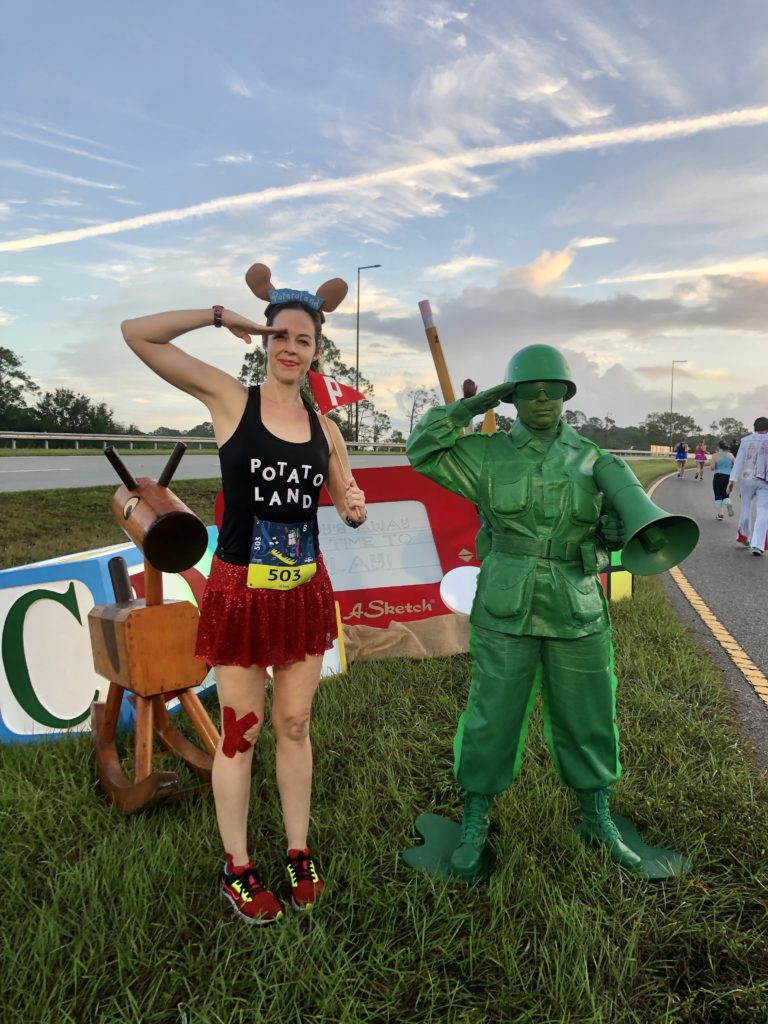
HAVE A PROP
If you’re having trouble with the above, it may help to have a prop, if only so that you have something to do with your hands. You’ll want to make sure it’s something light, but I recently did a half marathon with a pennant and carrying it never bothered me. And if it’s something cheap, you can always chuck it.
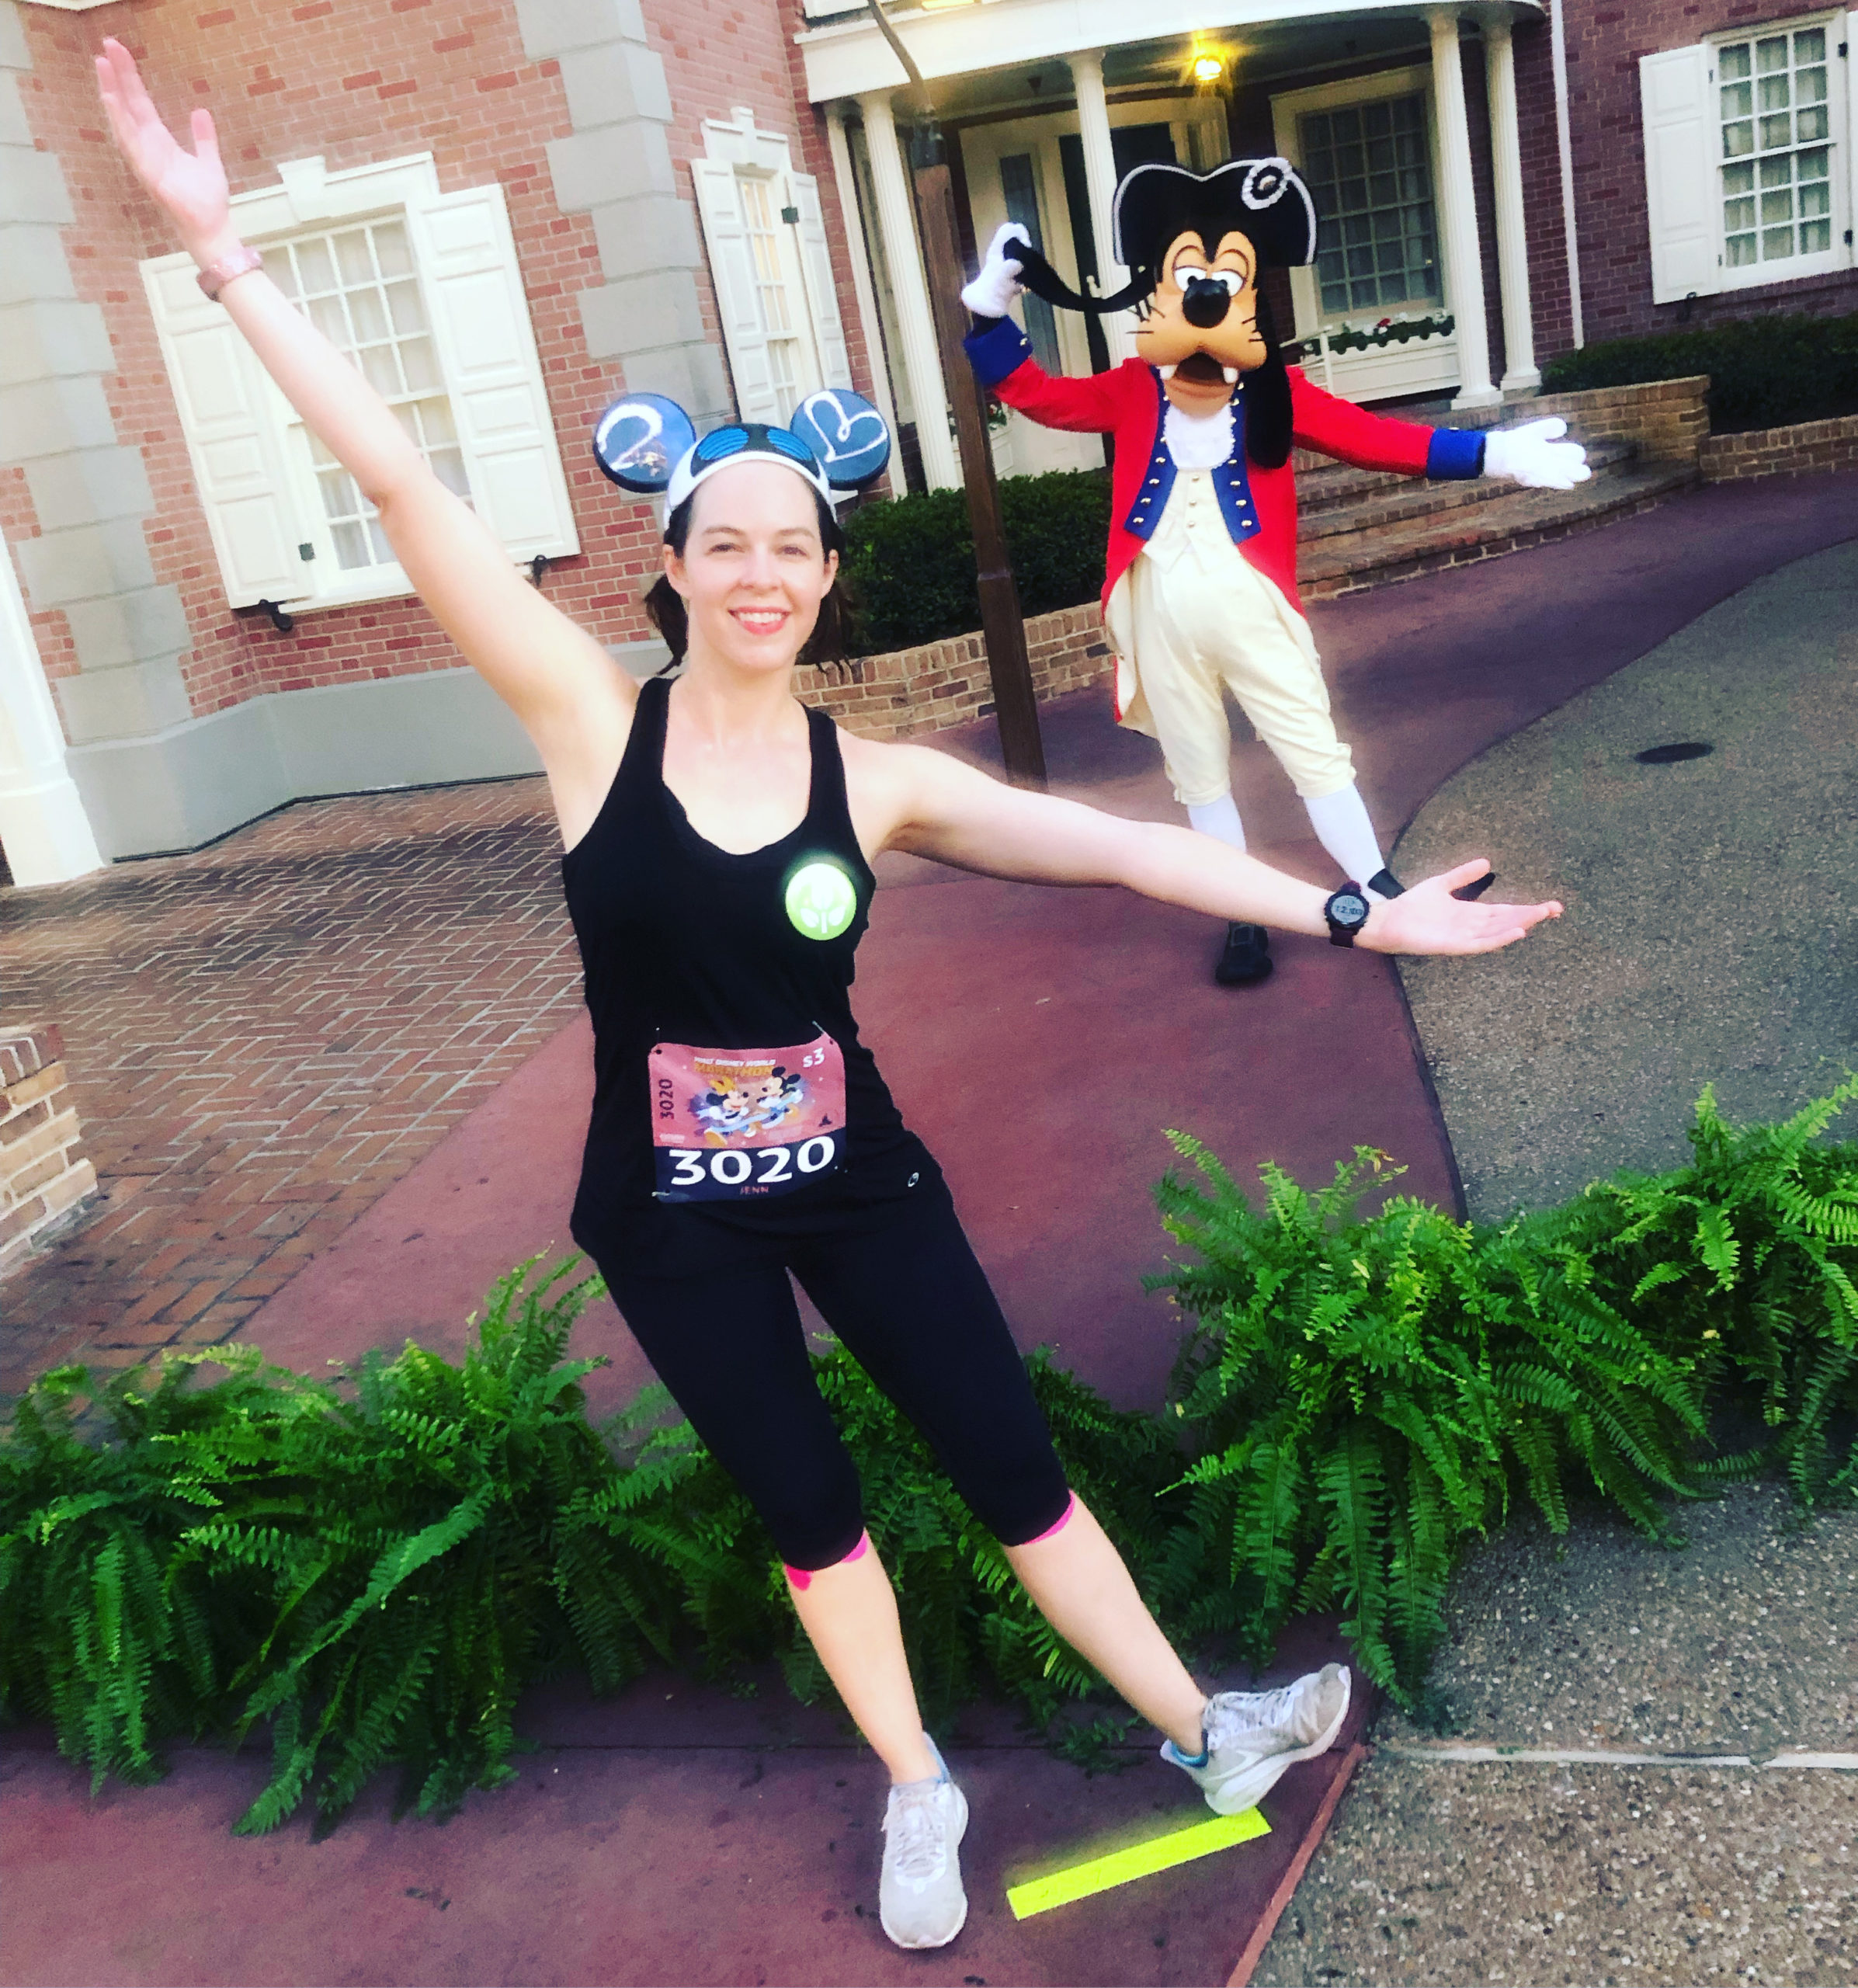
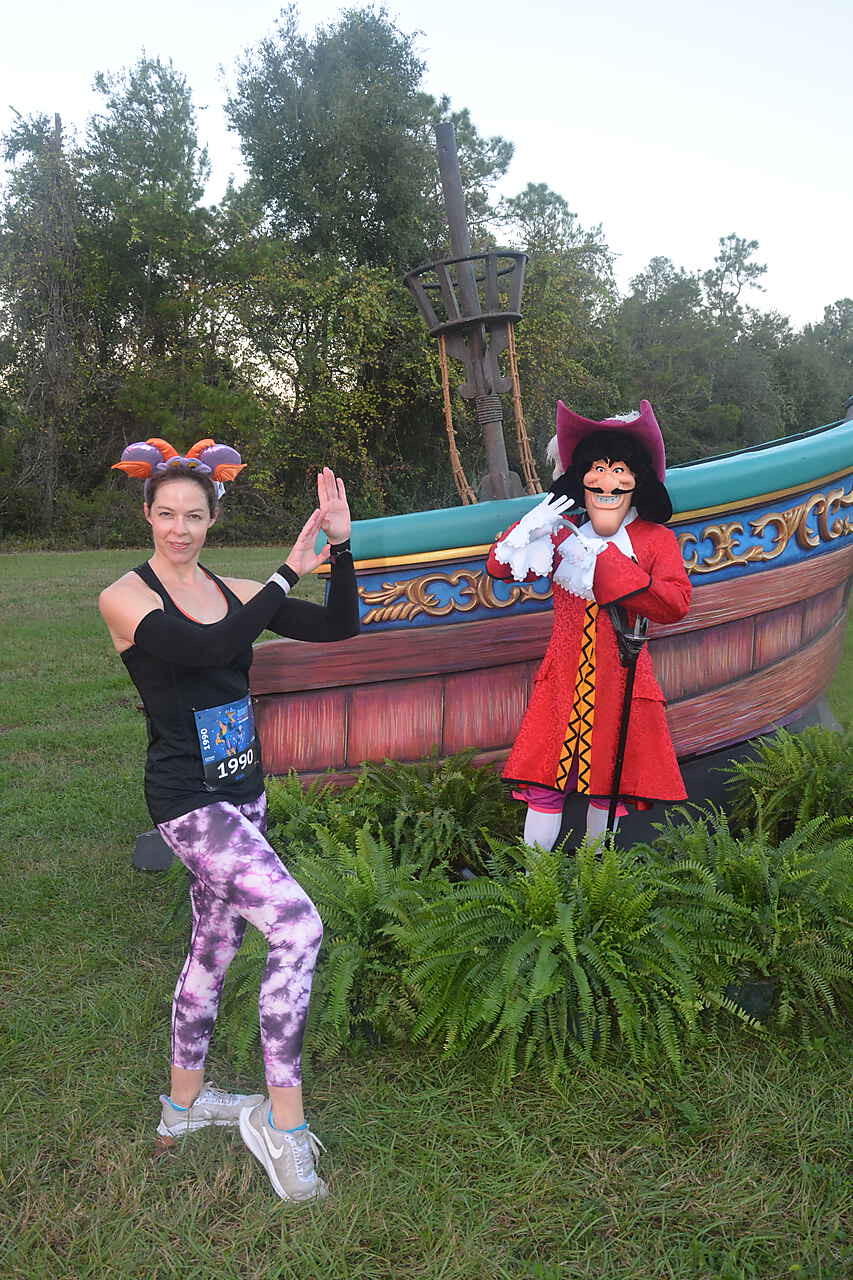
USE FORCED PERSPECTIVE
As a Disney parks enthusiast, you are no doubt familiar with forced perspective. This works on even a microcosmic level: the parts of your body that are closer to the camera will appear larger than the parts that are farther away. You can play with this fact to manipulate your proportions to your liking.
For example, one of my favorite tricks is to extend one leg – and ONLY one leg – ideally slightly toward the camera. Two legs right next to each other and straight down can make you appear stunted, especially if the photographer is angling their camera slightly downward. (Keep camera positioning in mind where you can.)
Another way you can use forced perspective to your advantage is by playing with your position in relation to the character. I noticed during the mid-pandemic races, when you had to stand a distance in front of the characters instead of next to them, I appeared to be an Amazonian giant in most of my pictures. Even though we’re back to getting up close, you can still use this trick to appear taller (if that’s something you’d like) but stepping slightly forward.
PLAY WITH ANGLES
Similar to forced perspective, you can manipulate your proportions by strategically angling your body. How you should do this depends on what you’re trying to achieve, but this one is pretty tried and true: turn your hips AWAY from the camera and your shoulders TOWARD. This twist makes your waist appear trim and just generally slims everything down. By contrast, the opposite can make you appear wider than you are. Choose wisely.
(I also sometimes like to stand a teensy bit pigeon-toed, as I find it makes my strong, Valkyrie-esque legs seem a little less heavy – see Green Army Man photo above. That could just be a me thing, but you could try that too if you are also replete with muscle.)
BE STRATEGIC WITH YOUR SIGHT LINES
Okay, this first tip is obvious: consider whether you care more about your cellphone photo or the PhotoPass photographer’s photo more and look at the one you want most. (Some photographers will talk you through looking at both one at a time, but not all.)
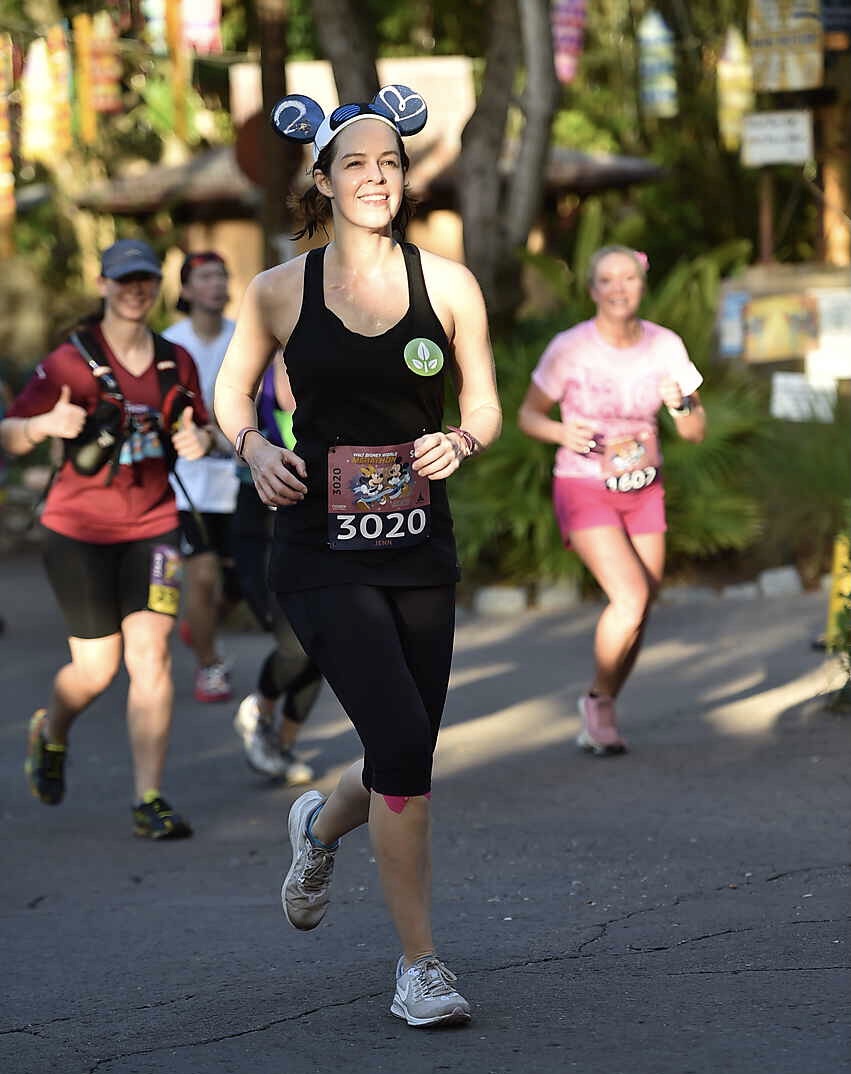
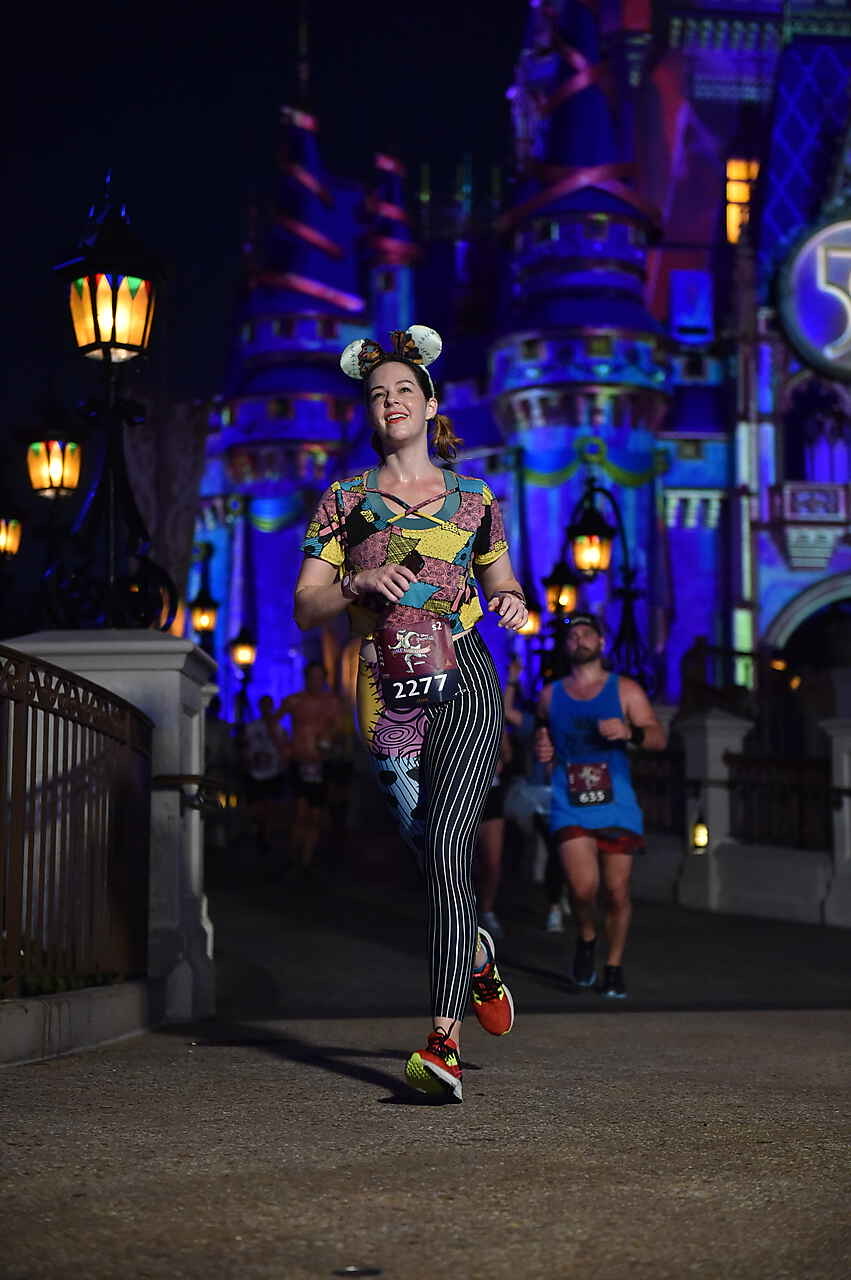
However, there are other ways your focal point can affect your photo. A big one for me is mostly NOT looking at the photographers who are taking photos on the course as you run. I’ve found that when I look straight at the camera, I often wind up appearing squinty, and anyway photos taken from below are the least flattering.
This is why I like to concentrate on lifting my chin and looking UP, over the heads of the photographers. It’s a different vibe than smiling straight at someone, of course, but I kinda like the “eyes on the horizon” look. This one is arguably a personal preference, but it’s worth a shot if you normally don’t like your on-course pics.
HAVE THE CAST MEMBER TAKE A VIDEO/LIVE PHOTO/BURST
If you’re using your cellphone for photos, you could ask the Cast Member doing the job to take a video or live photo or burst instead of one picture. Some CMs are more tech-savvy than others, but handing them a video that’s already recording should be fairly fool-proof. You can scrub through and screenshot your favorite stills after the fact.
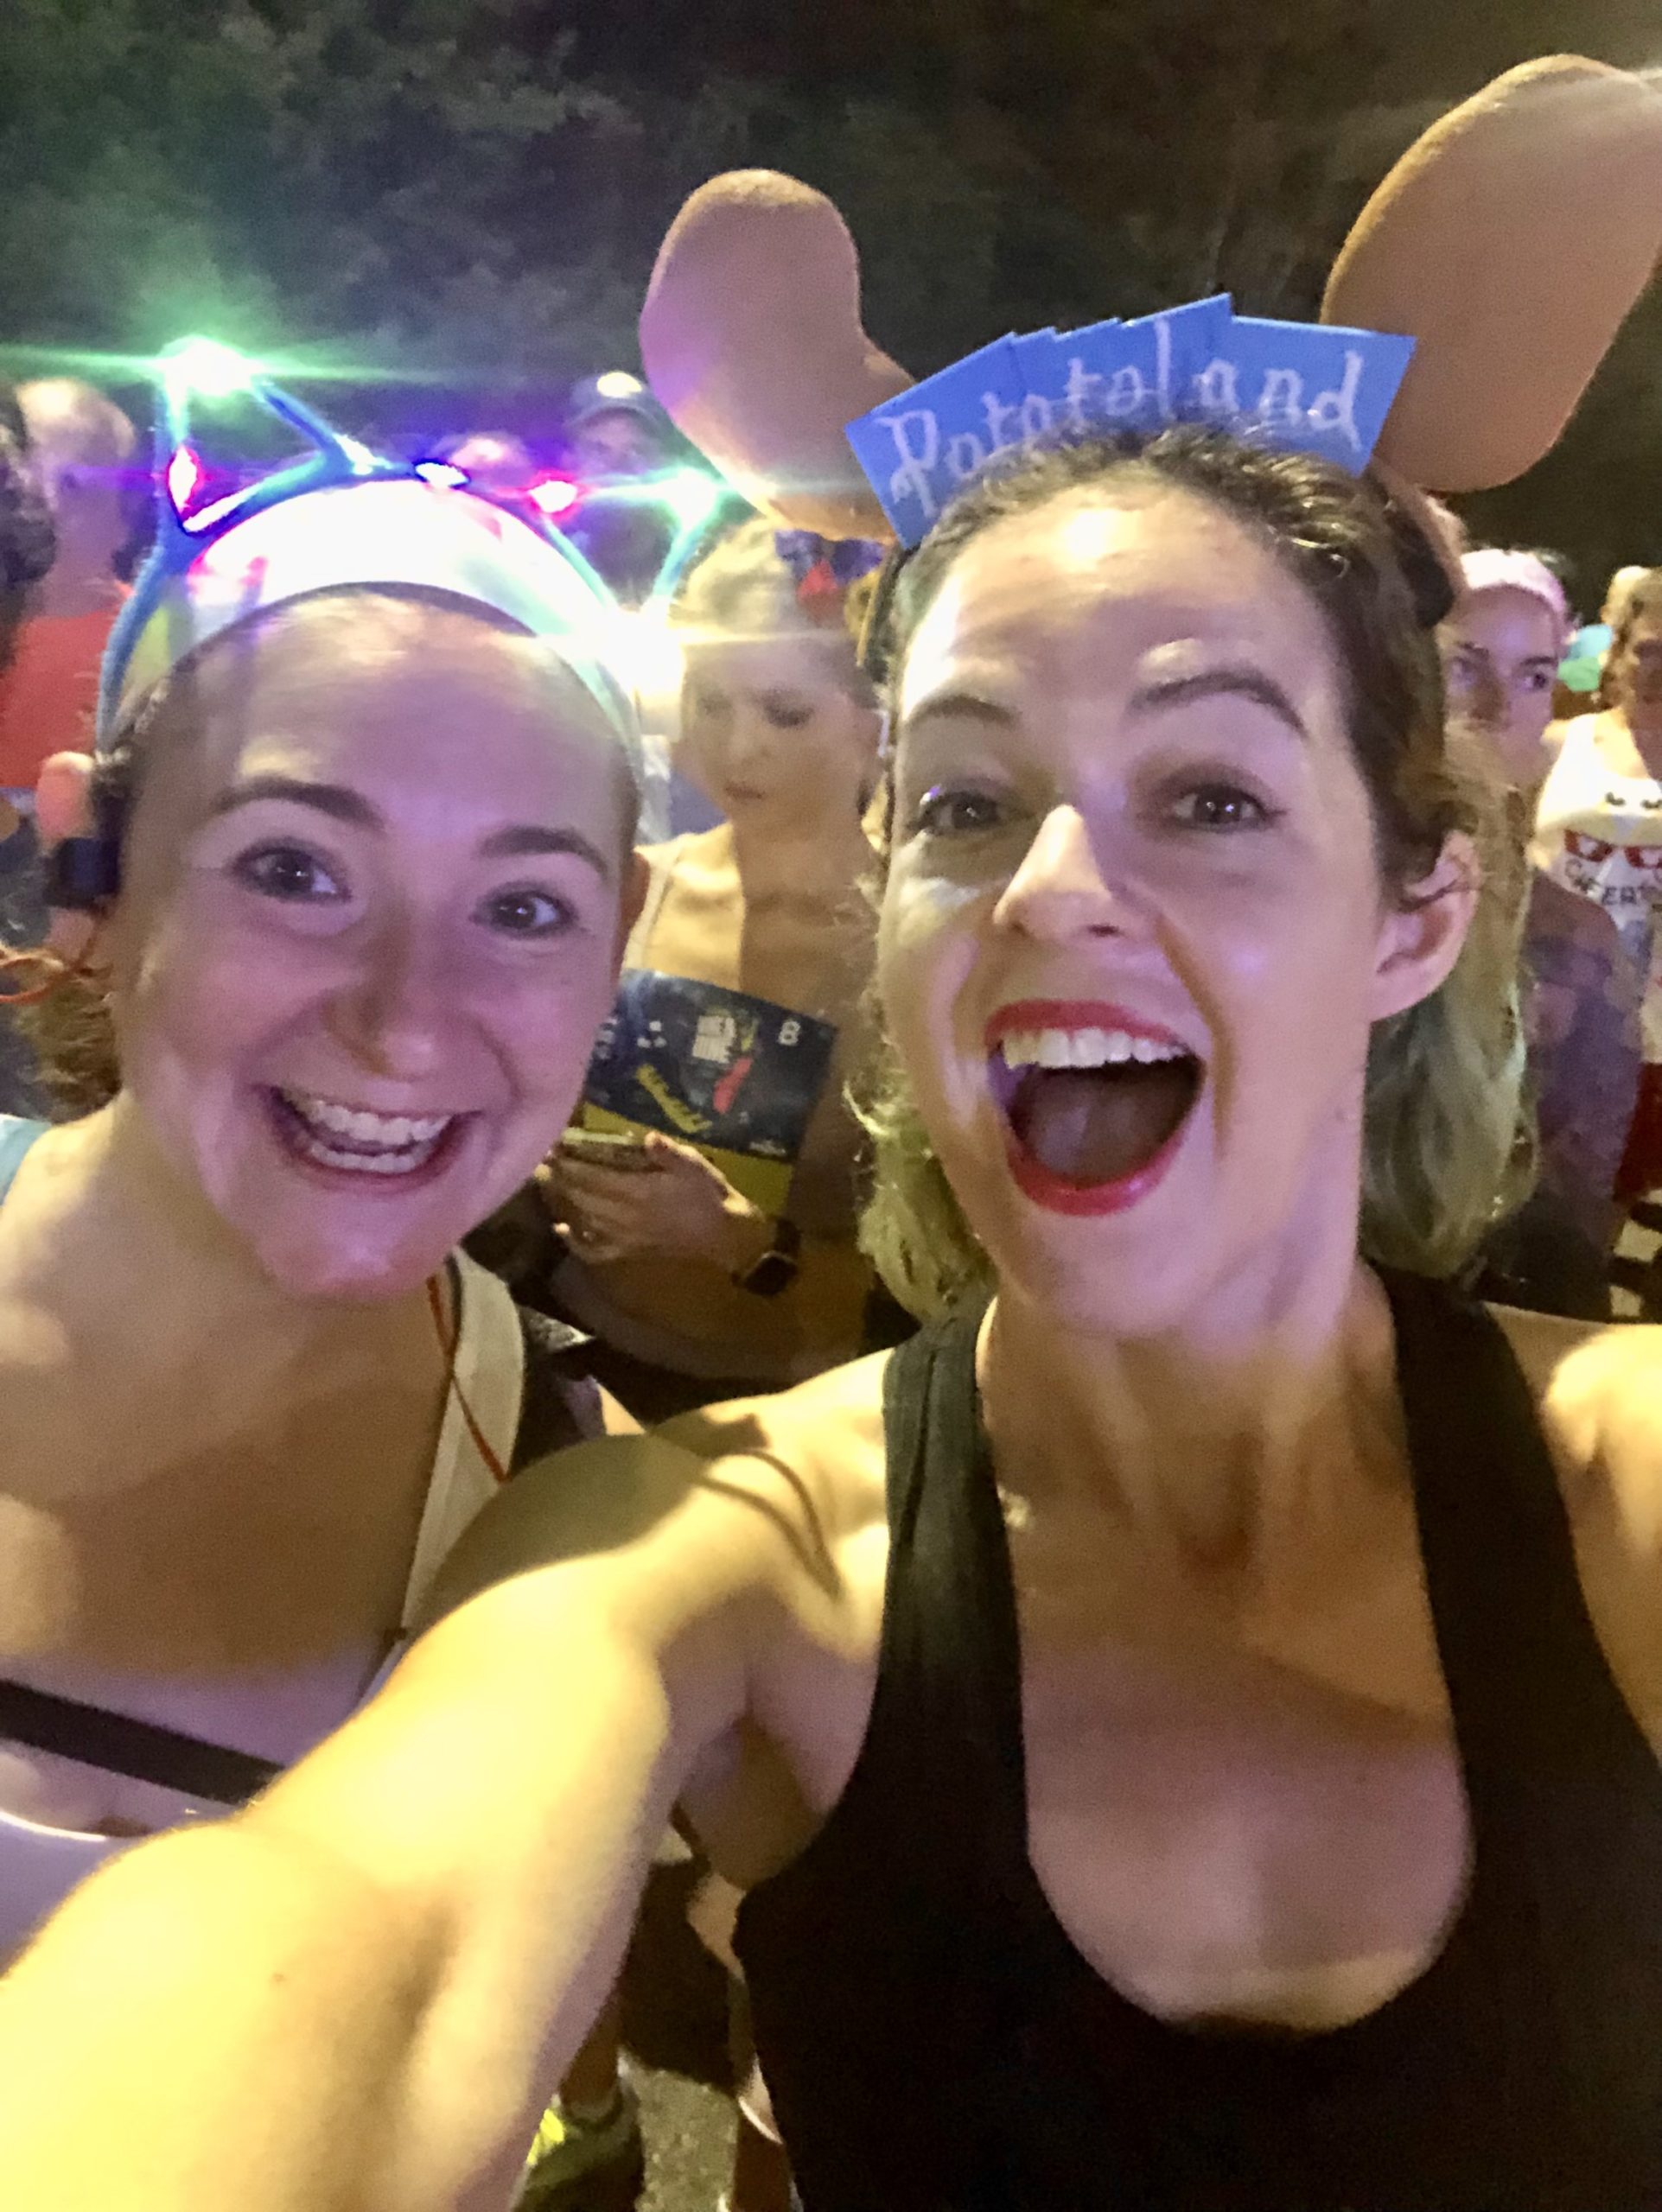
I KNOW YOU DON’T LIKE TO BE TOLD TO SMILE
… but smiling really does help. It’s just more attractive. Look, you don’t have to if you don’t want to! But I would. It lifts the whole face and hey, at least you seem happy.
BE NICE TO YOURSELF – NOT EVERY RUNDISNEY PHOTO CAN BE A WINNER
I know, it sucks: sometimes the photo you really wanted does NOT come out for whatever reason. What can ya do. It’s not just you! Photography is a numbers game; professionals use up ROLLS of film to get one shot. You had like 3 high pressure seconds to turn it out and hop back on the course. Even if you prepared with ALL my tips, it’s easy to forget in the moment – heaven knows I do. The fact that any of us ever get a good photo is a miracle. You still had fun, right? Focus on having fun and feeling happy. The rest will follow. Or not. The thing about runners is this: we keep trying.
Don’t forget, you can follow FRoA on Twitter @fairestrunofall and on Instagram @fairestrunofall. If you have any questions or thoughts, leave a comment or email fairestrunofall@gmail.com. See ya real soon!